HEALTHY CHOCOLATE CHEESECAKE
Merry Christmas to everybody!
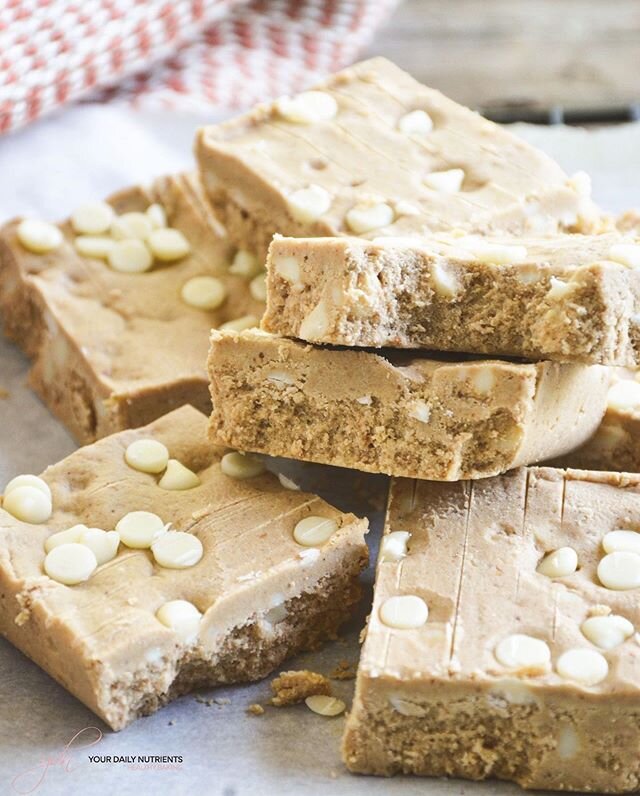
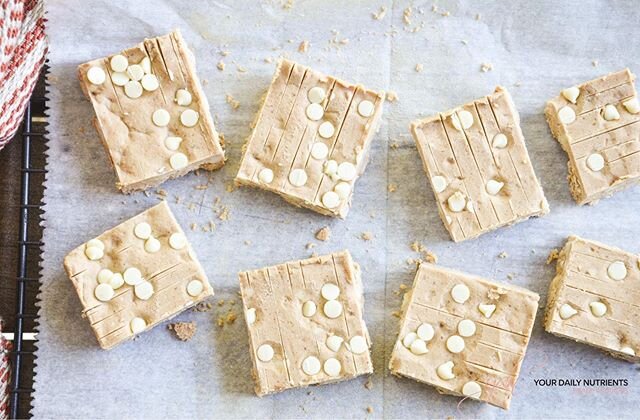
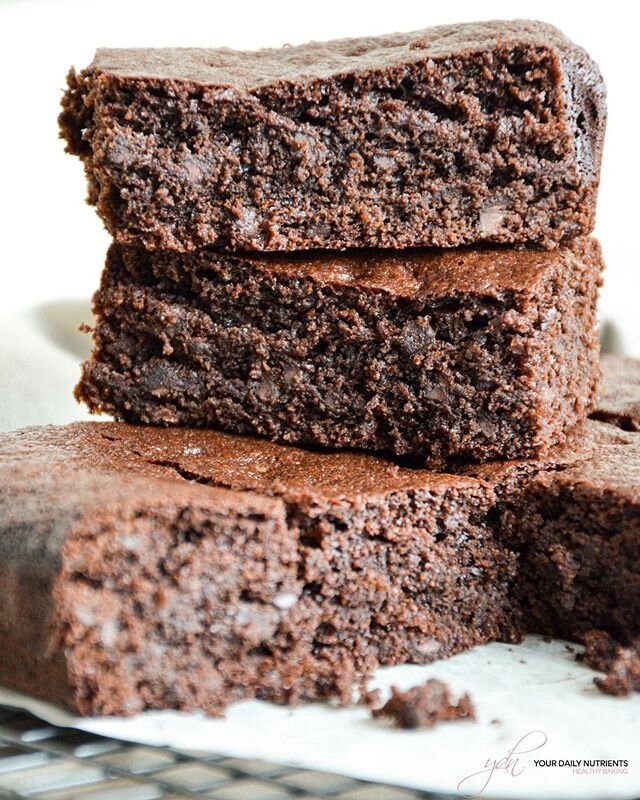
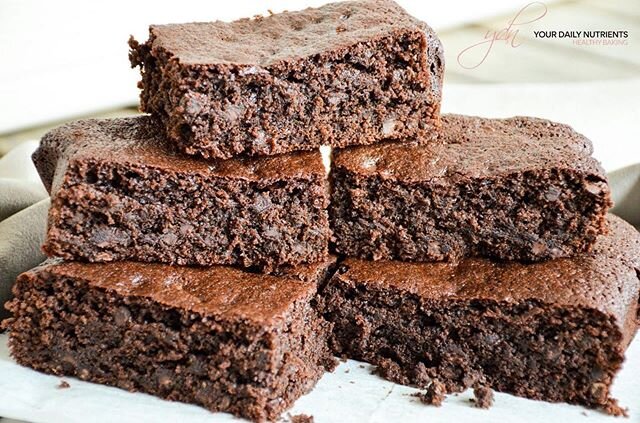
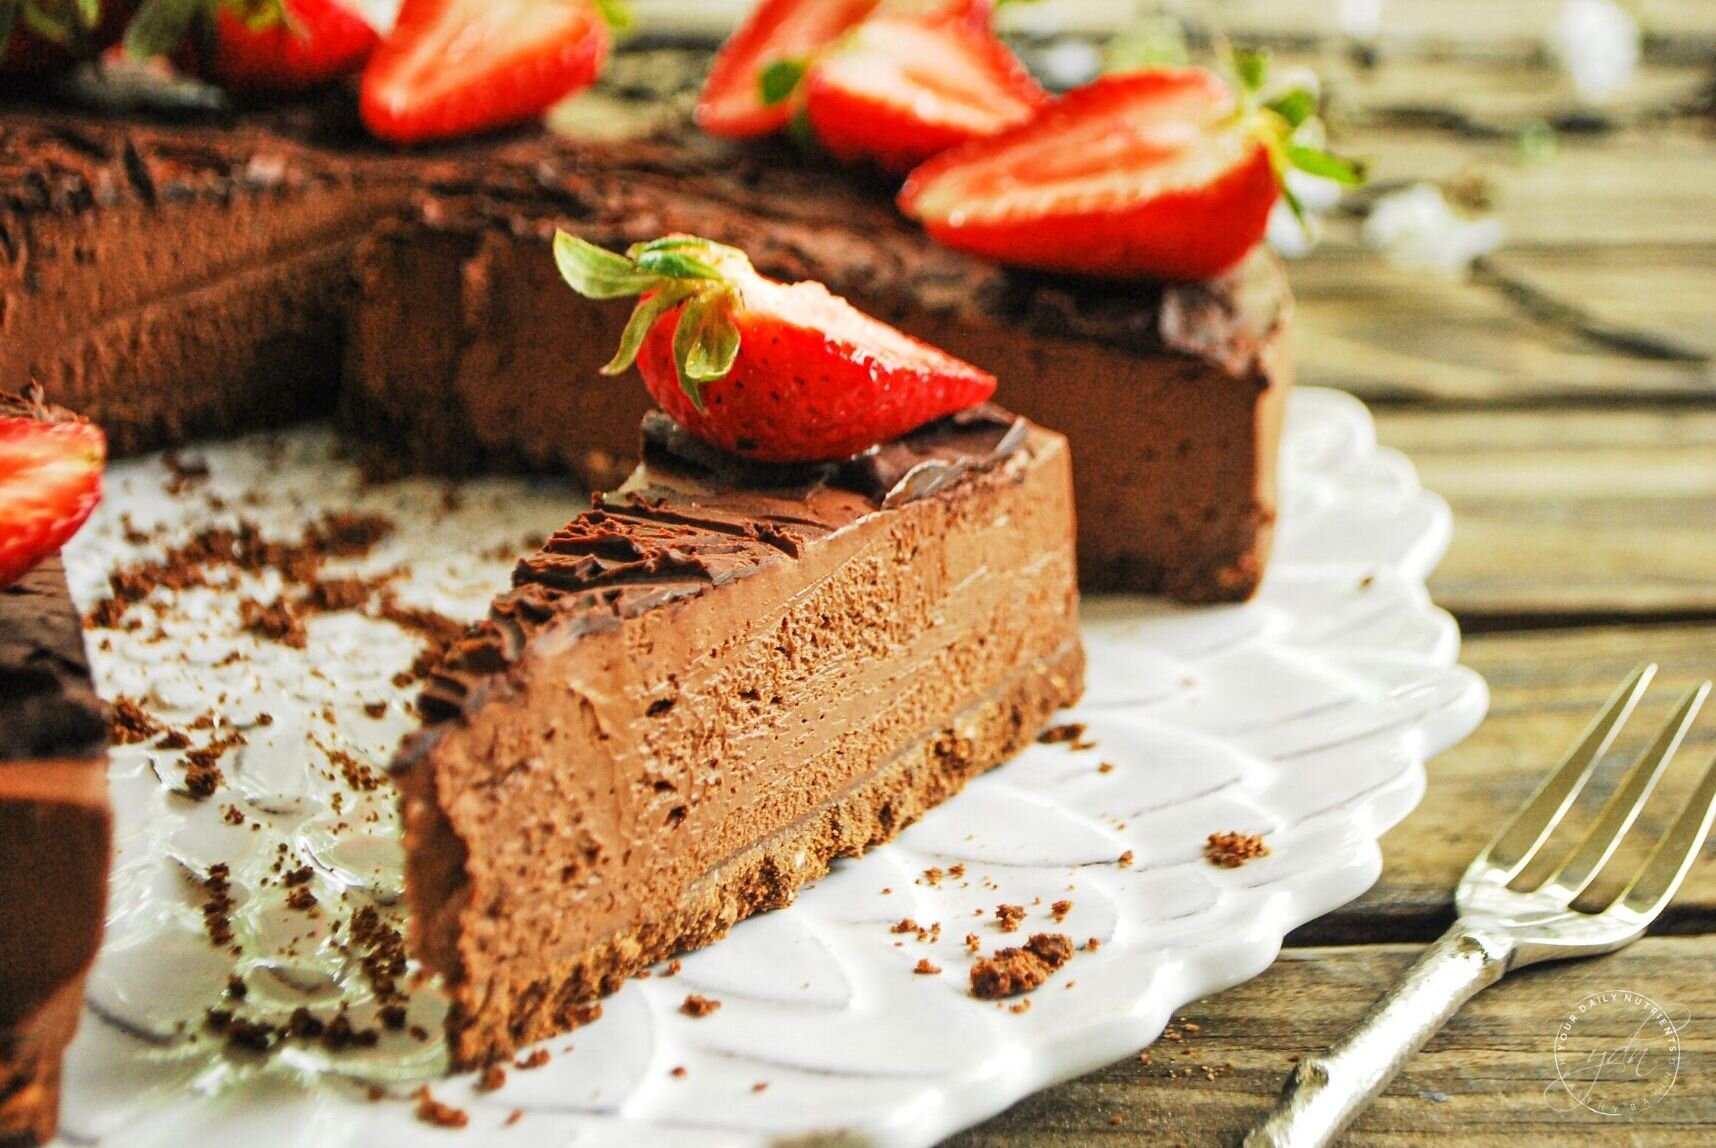
What a better dessert for Christmas than this healthy chocolate cheesecake! The best healthy chocolate cheesecake ever, I promise! Seriously it turned out amazing!

This healthy chocolate cheesecake is gluten free, refined sugar free and high in chocolate content which will become your favorite dessert to all of you! Because, who doesn’t love chocolate??

DIABETIC DIET TIP
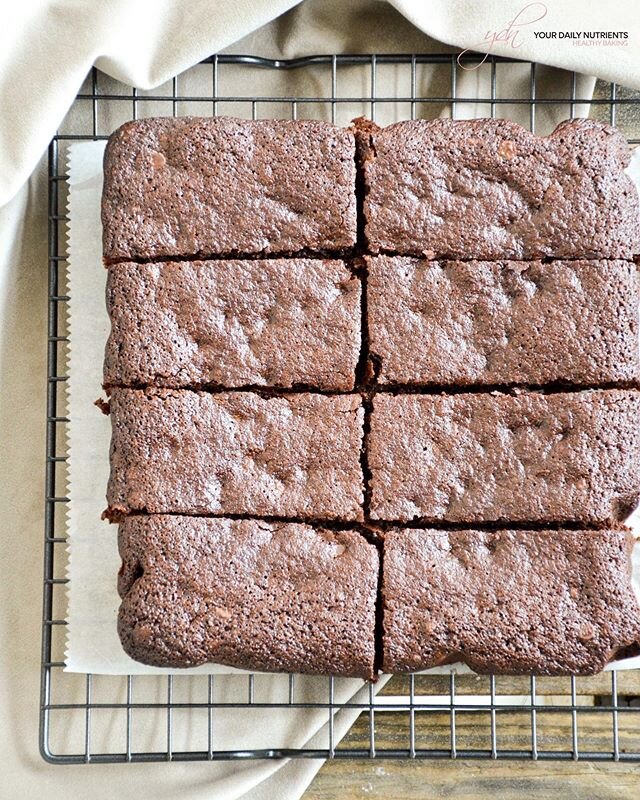
As I mentioned on previous posts, the healthy level of a cheesecake depends a lot on the crust. There are some of my recipes that have a graham cracker made crust and others thatinclude a crust made with almond flour, coconut sugar and coconut oil, like this one! This healthy pie crust makes the cheesecake even healthier!
Remember that we enjoy these healthy desserts only on occasions where sugar levels are very optimal (staying between 80-120 mg/dL and definitely not above 150 mg/dL). As I keep repeating all throughout my blog, balance is the main factor when it comes to managing your health and diabetes, and my healthy desserts and recipes are no exception to it.
Try this recipe for this holiday season and let me know what you think so I can keep making these healthy recipes even better for you guys!
INGREDIENTS
Crust:
2 cups or 195gr of almond flour
1/2 cup or 55gr of coconut flour
1/2 cup or 70gr of coconut sugar
1/2 cup or 40gr of cacao powder 100%
1/3 cup or 55gr of coconut oil or grass-fed butter (melted)
Filling:
24 oz/678g of cream cheese, at room temperature
1/2 cup or 70gr coconut sugar
1/2 cup or 70gr of powdered coconut sugar (just blend it)
3 tablespoons of natural unsweetened cocoa powder 100%
8oz/100g 80% of dark chocolate (melted)
1 cup or 250ml of heavy whipping cream (cold)
1 teaspoon of vanilla extract
Topping:
1/2 cup of 80% dark chocolate
1 tablespoon of heavy cream
STEPS
Cover the base of a 10inch/20cm round mold with parchment paper.
Mix all the crust ingredients together.
Transfer dough to the mold. Using a measuring cup or your fingers, evenly press dough in bottom. Refrigerate.
In a large bowl, beat the cream cheese, coconut sugar and cacao.
Add the melted chocolate and mix until well combined and smooth.
In another large bowl, add the heavy whipping cream, powdered coconut sugar and vanilla extract and whip.
Carefully fold the whipped cream into the cream cheese mixture in two parts until well combined.
Add the filling to the crust and spread into an even layer.
Refrigerate cheesecake until firm, 5-6 hours or overnight.
* Store the cheesecake in the fridge or freeze by slices.
! ! ! E N J O Y ! ! !
🇪🇸 Spanish:
El mejor cheesecake de chocolate que existe, os lo prometo!!!
Ha quedado ideal, el punto de dulzura perfecto y el sabor de chocolate intenso!
Además está hecho con ingredientes reales y nutritivos, sin gluten ni azúcares refinados!
INGREDIENTES
Base:
2 tazas o 195gr de harina de almendra
1/2 taza o 55gr de harina de coco
1/2 taza o 70gr de azúcar de coco
1/2 taza o 40gr de cacao puro en polvo 100%
1/3 taza o 55gr de aceite de coco o mantequilla organica.
Relleno:
678g de queso crema a temperatura ambiente
1/2 taza o 70gr de azúcar de coco
1/2 taza o 70gr de azúcar de coco en polvo (tritura el normal hasa que se convierta en polvo)
3 cucharadas de cacao puro en polvo 100%
100g de chocolate negro 80% (derretido)
250ml de nata para montar
1 cucharadita extracto de vainilla
Topping:
1/2 taza de chocolate negro 80% (derretido)
1 cucharada de nata líquida
PASOS
Cubrir la base de un molde redondo de 20cm con papel para horno.
Mezclar bien todos los ingredientes de la base, verter en el molde y apretar bien con los dedos por toda la base. Dejar en nevera.
En un bol grande, batir el queso crema con el azúcar de coco y el cacao.
Añadir el chocolate derretido y mezclar bien hasta que quede todo bien integrado.
En otro bol, batir la nata hasta que se monte y añadir el extracto de vainilla y el azúcar de coco en polvo.
Poco a poco añadir la nata montada a la mezcla de chocolate.
Añadir el relleno por encima de la base del molde y dejar en la nevera unas 5-6hs o hasta el día siguiente.
* Conservar en la nevera o congelar en trozos.
! ! ! D I S F R U T A D L O ! ! !

Check us out on Facebook & Instagram for our latest healthy content!

Hello Food Lovers!
We created YOUR DAILY NUTRIENTS in order to share and educate with healthy recipes and Diabetic tips.
To motivate you to achieve a healthy lifestyle and control your diabetes at your best!
Follow us on Instagram to get the latest content on healthy baking and recipes!