STRAWBERRY-CREAM VEGAN “CHEESECAKES”
- VERSION EN ESPAÑOL AL FINAL DE LA PÁGINA -
Welcome weekend!
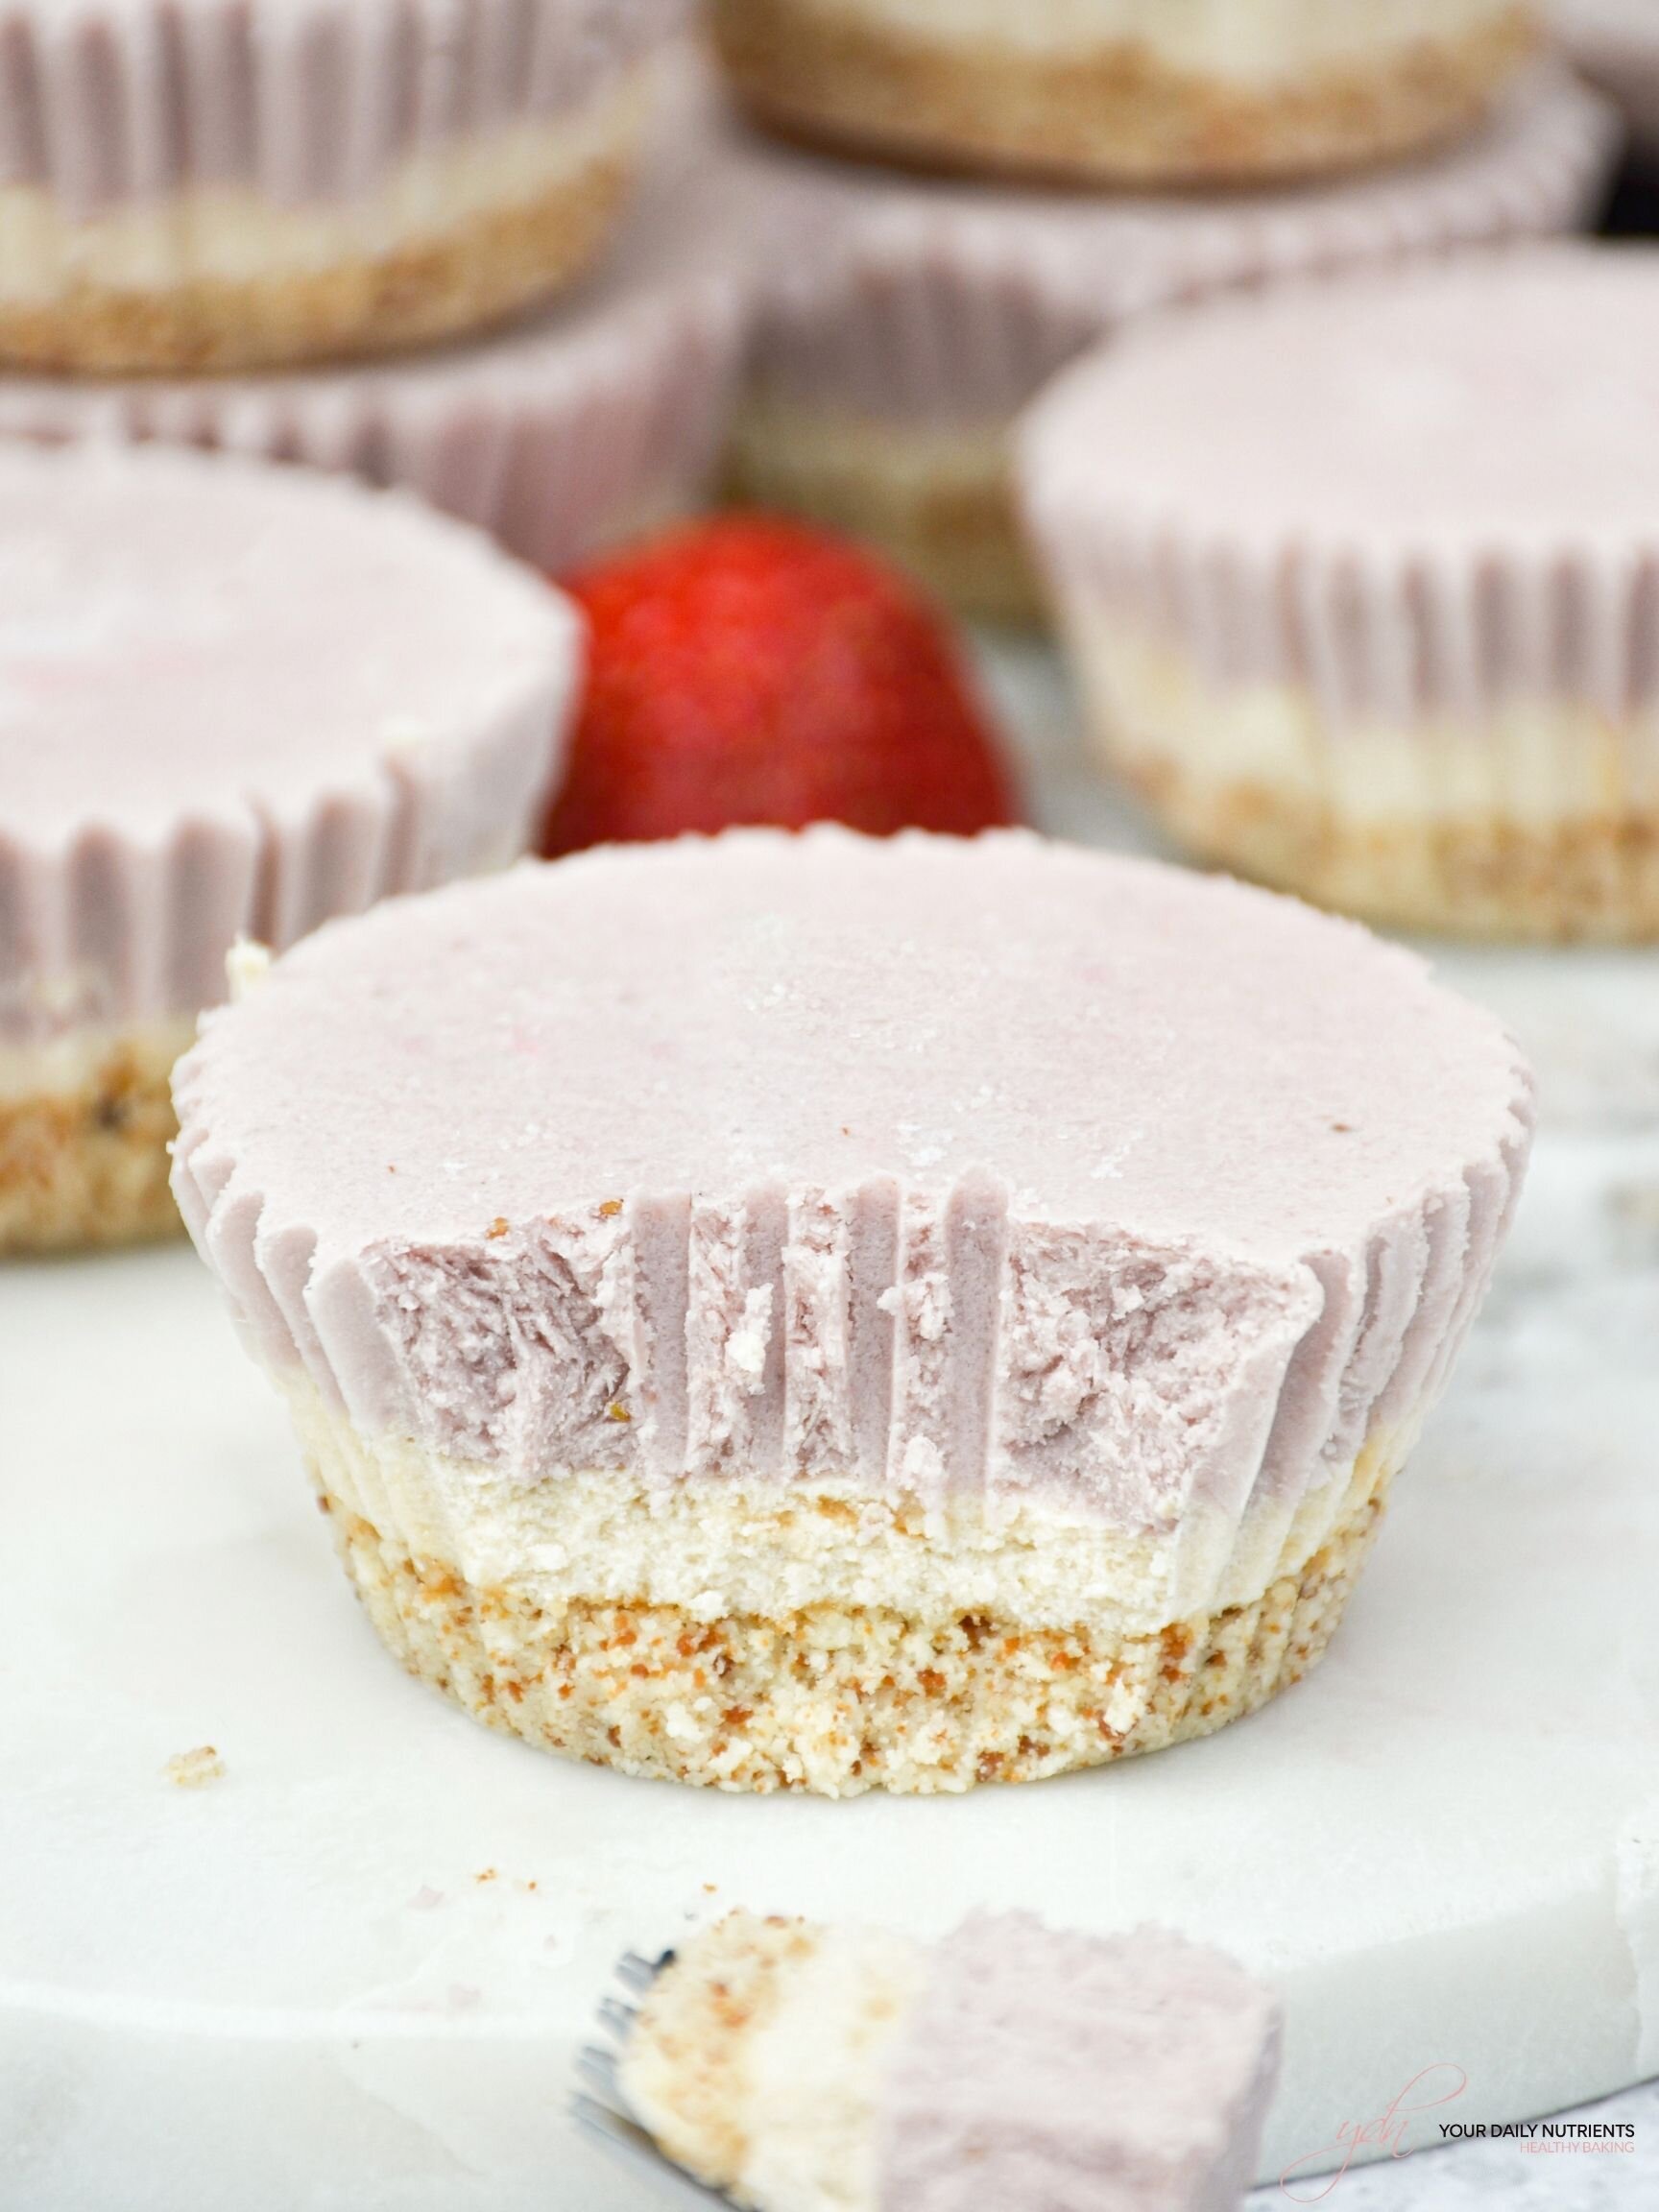
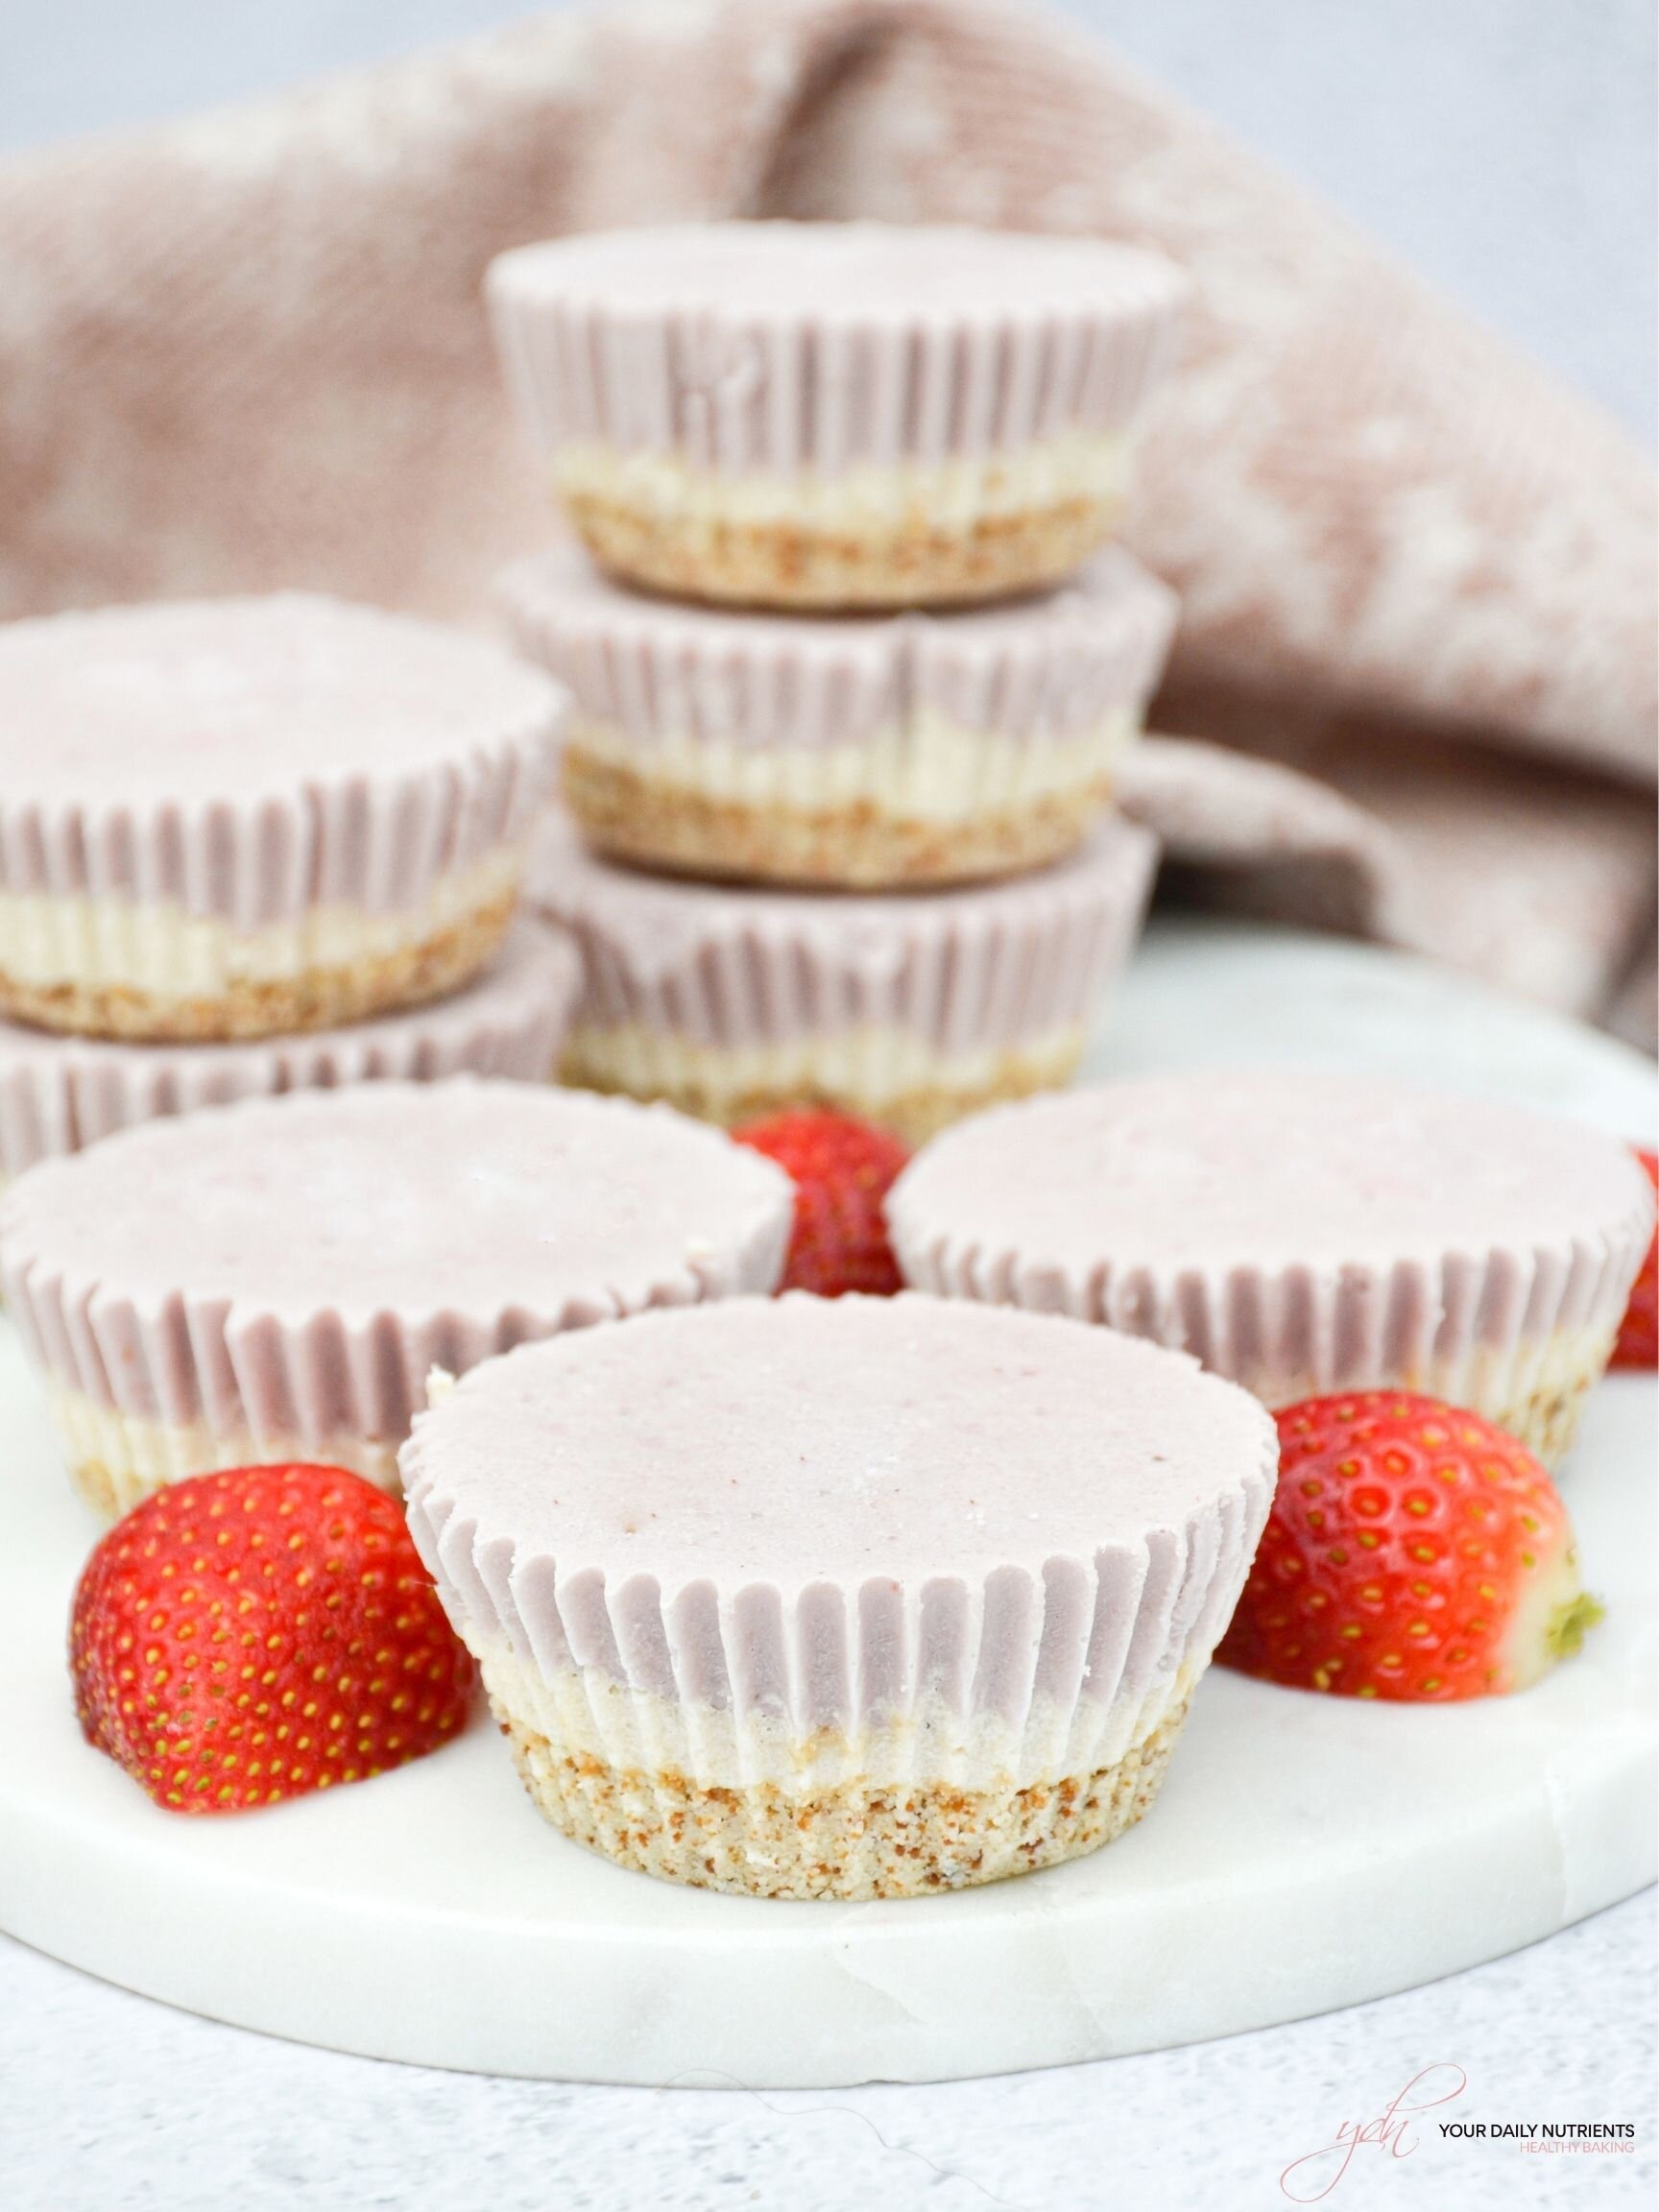
Today I am sharing with you these delicious raw vegan strawberry-cream mini “cheesecakes” today! It’s a great option for Christmas healthy dessert!
These lovely cups are gluten free, refined sugar free, dairy free and vegan!
DIABETIC DIET TIP
One of the best healthy desserts for diabetics would be a healthy cheesecake actually… think about it. Healthy cheesecake is made with cheese or cashews, both are healthy fats with barely carbohydrates or sugars. The cookie base can be done with any kind of nut. And the sweetness can be added in form of coconut sugar or some kind of fruit or syrup or sweetener or stevia!
In this case, this healthy raw vegan “cheesecake” is made with a cashew-strawberry filling!
One of these cups will be a great option when you’re craving a piece of cheesecake! It could also be done with cream cheese, but I like to have an option for my vegan readers! Besides, I like dairy but I try to limit my intake!
So because of the healthy fats and the lack of refined sugars in this healthy “cheesecake”, you won’t experience sugar spikes as long as you have stable blood sugar levels around 80-110 mg/dL before devouring a slice!
Remember, balance is key for a healthy diabetic lifestyle so make sure your portions are moderate and at the right times!!

INGREDIENTS
Crust:
1 cup or 80gr almond flour
2 tablespoons coconut sugar
2 tablespoons coconut oil
Filling:
300gr raw cashews soaked in cold water for at least four hours or preferably overnight
3 tablespoons of melted coconut oil
1/4 cup or 30gr of yacon syrup or honey
1 tablespoon fresh lemon juice
1/2 cup or 120ml coconut cream or 80ml coconut milk
1 tablespoon of vanilla extract
120gr fresh or frozen strawberries
STEPS
In a bowl, mix all the crust ingredients together and evenly press dough in bottom of the mini cheesecake molds or mold of choice. Set aside. (use cupcake papers if you don’t have a mold with a removable bottom)
Blend all the filling ingredients except the strawberries in a food processor or hand blender and pour half of the batter into the mini cup molds over the crust.
Add the strawberries to the other half of the filling and blend until is fully incorporated.
Pour the strawberry filling over the cashew filling of each mold.
Freeze for at least 1 hour. You can store them in the freezer and have them as a little dessert or snack anytime!
* Store in the freezer for 3 months.
Did you make this recipe?
Please let me know how it turned out for you! Leave a comment below and share a picture on Instagram with the hashtag #yourdailynutrients and send me a DM so I can see you and share!
Thanks so much!
🇪🇸 Spanish:
Estas mini delicias son “cheesecakes” veganos de anacardos y fresas.
No llevan gluten ni lácteos ni azúcares refinados y además son bajas en carbohidratos y veganas! Ideales para cualquier momento del día.
¡Espero que te gusten!
INGREDIENTES
Base:
1 taza o 80gr harina de almendra
2 cucharadas azúcar de coco
2 cucharadas aceite de coco
Relleno:
300gr anacardos crudos remojados en agua fría durante 4 horas o por la noche
3 cucharadas de aceite de coco
1/4 taza o 30gr de sirope de yacón o miel
1 cucharada de zumo de limón
1/2 taza o 120ml nata de coco (es más sólida) o 80ml leche de coco (es más líquida)
1 cucharadita de extracto de vainilla
120gr de fresas frescas o congeladas
PASOS
En un bol, mezclar todos los ingredientes de la base y apretar uniformemente en la base de moldes pequeños redondos o molde a escoger. (usa papeles para cupcakes como base si no tienes moldes con base que se pueda quitar)
Triturar todos los ingredientes del relleno menos las fresas en una procesadora de alimentos o trituradora de mano y verter la mitad del relleno en los moldes encima de la base de galleta.
Añadir las fresas a la otra mitad del relleno y triturar hasta que quede bien incorporado todo.
Verter el relleno de fresa por encima de la capa anterior.
Congelar durante 1 hora. Puedes guardar los mini cheesecakes en el congelador y disfrutarlos como postre o snack en cualquier momento!
* Conservar en el congelador durante 3 meses.
¿Habéis hecho esta receta?
¡Me encantaría saber que tal os ha quedado! Dejar un comentario en la sección de abajo y compartir una foto en Instagram con el hashtag #yourdailynutrients y enviarme un mensaje así puedo veros y compartir!
¡Mil gracias!

Check us out on Facebook & Instagram for our latest healthy content!

Hello Food Lovers!
We created YOUR DAILY NUTRIENTS in order to share and educate with healthy recipes and Diabetic tips.
To motivate you to achieve a healthy lifestyle and control your diabetes at your best!
BROWSE RECIPES by category
Follow us on Instagram to get the latest content on healthy baking and recipes!