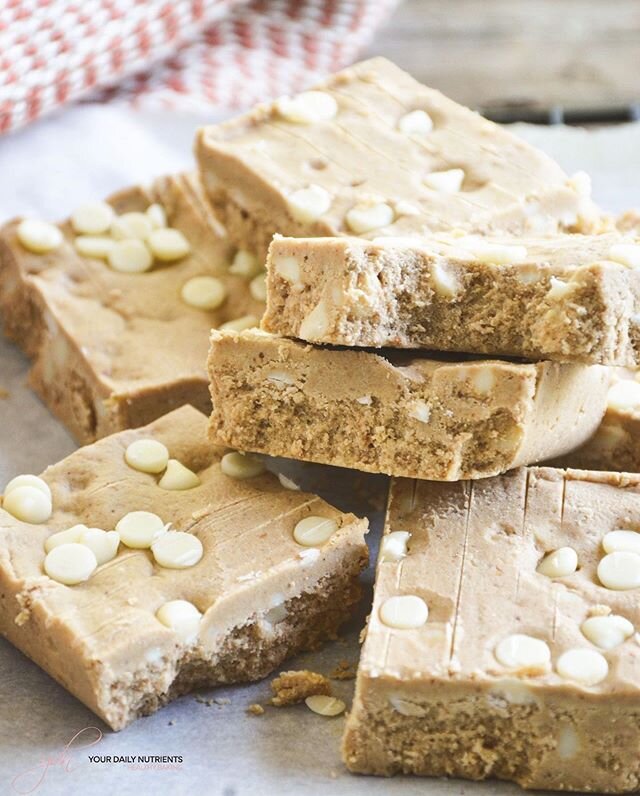
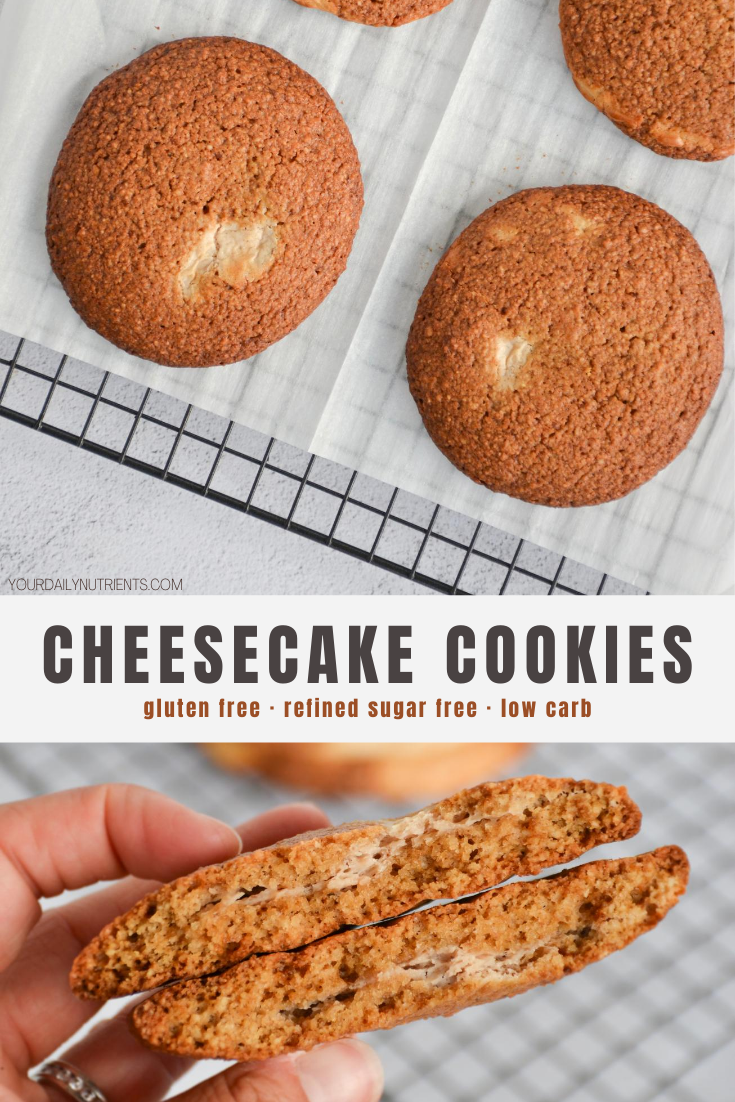
CHEESECAKE COOKIES
- VERSION EN ESPAÑOL AL FINAL DE LA PÁGINA -
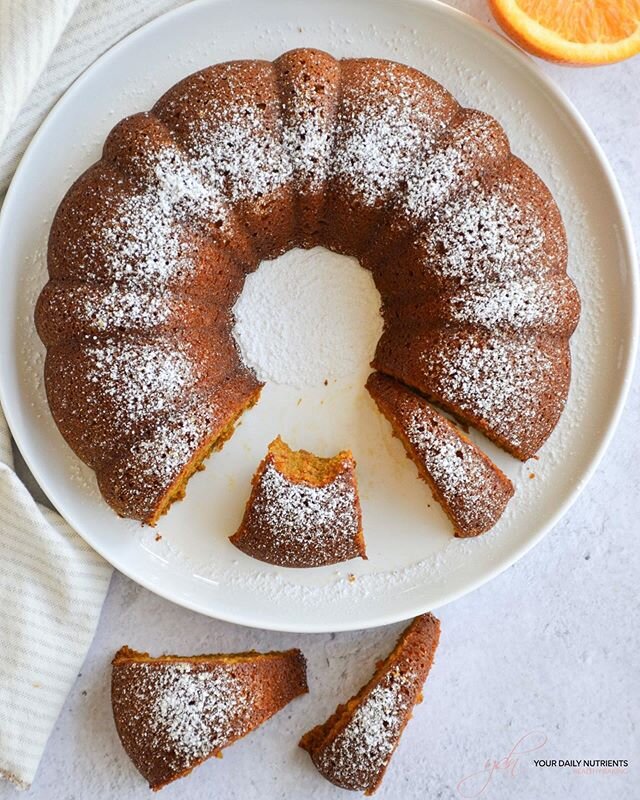
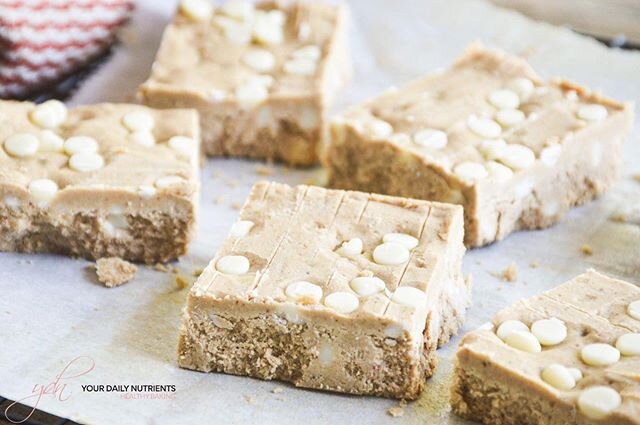
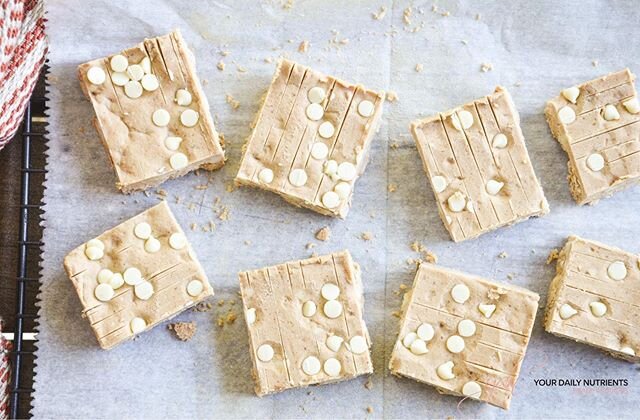
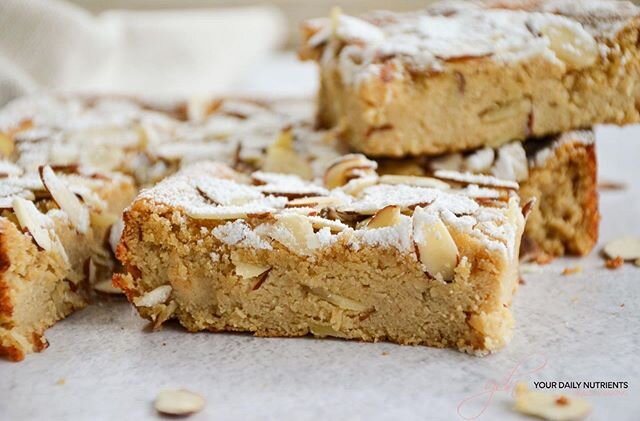
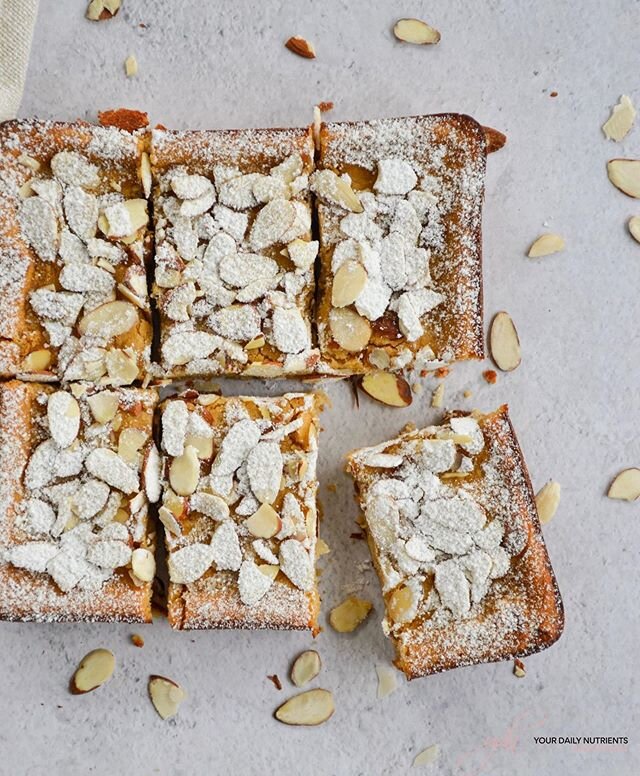
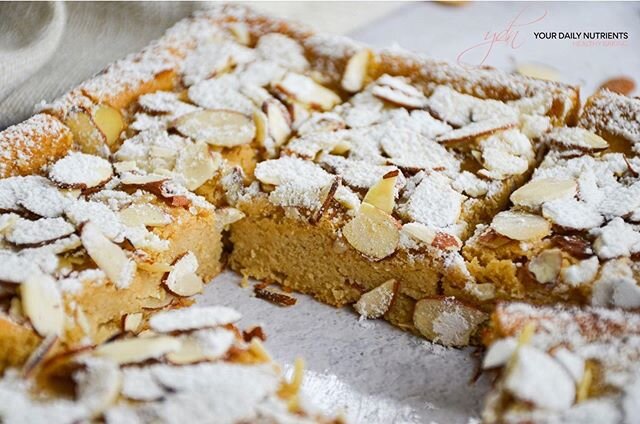
I had some cheesecake filling leftovers from my cake Strawberry Cheesecake and I decided to do some cookies with it! It was the first time I stuffed a cookie and I think I need to do a better job next time to place the filling because you can see its on the edges lol. Anyway the flavour and texture of the cookie is so good!!


DIABETIC DIET TIP
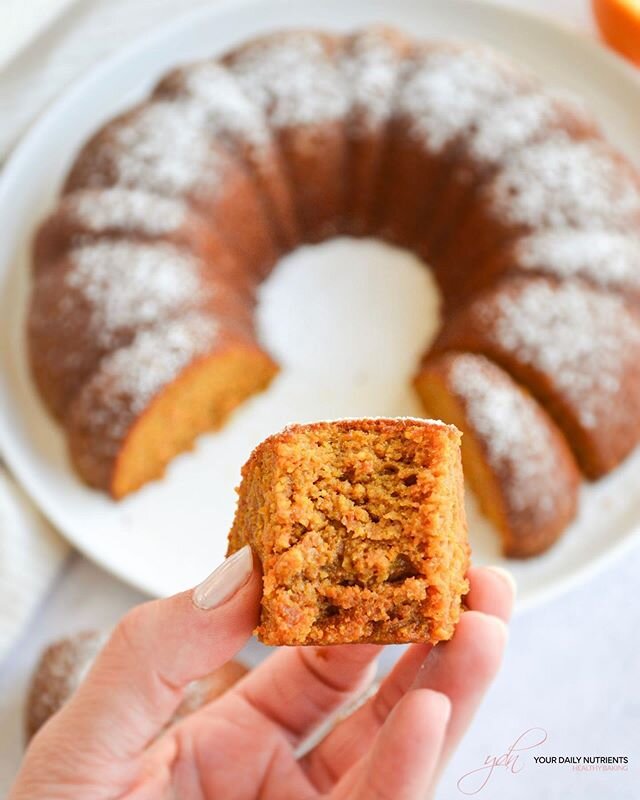
These healthy cookies are so big! One is enough to satisfy your sweet tooth any time of the day!
The ingredients used make these healthy cookies with a little bit more of carbohydrate content so it’s the perfect cookie to bring your blood sugar levels stable when starting to drop (around 70mg/dL) to avoid an hypoglycemia.
Let me know how it turnes out for you I would love to hear your feedback too!

INGREDIENTS
1 & 1/2 cups or 140gr almond flour
1 cup or 100gr of oat flour
1/2 teaspoon Himalayan pink salt
1/2 teaspoon baking soda
1/2 cup or 75gr coconut oil (melted)
1 cup or 140gr coconut sugar
2 eggs
1 teaspoon vanilla extract
Cheesecake filling, I used leftovers from my other recipe Strawberry Cheesecake if not, just mix cream cheese with cream and sweetener of choice
STEPS
Pre heat oven to 350F/175C. Line a cookie sheet with parchment paper.
In a bowl, mix all the dry ingredients together (almond flour, oat flour, salt, baking soda). Set aside.
In another bowl, whisk the eggs and add the coconut oil, coconut sugar and vanilla extract.
Pour the dry ingredients into the previous mix and mix until everything combined.
Scoop the batter onto the cookie tray with parchment paper, then add a 1-2 tablespoons o top and cover with another scoop/tablespoon of cookie batter. Repeat the process for 10 cookies. You will need to make 2 trays, remember to leave space in between the cookies because they will spread out in the oven.
Bake for 15 minutes or until golden brown.
Let them cool in a rack and enjoy!!
* Store in an air tight container at room temperature or in the fridge.
Did you make this recipe?
Please let me know how it turned out for you! Leave a comment below and share a picture on Instagram with the hashtag #yourdailynutrients and send me a DM so I can see you and share!
Thanks so much!
🇪🇸 Spanish:
Estas galletas rellenas de cheesecake están deliciosas!! Me había sobrado relleno de mi pastel de cumpleaños, este Cheesecake de Fresa y Chocolate, y decidí hacer galletas rellenas de cheesecake!
Han salido muy grandes y muy ricas! No llevan gluten ni azúcares refinados. Son ideales para un snack saludable en cualquier momento del día :)
INGREDIENTES
1 & 1/2 tazas o 140gr harina de almendra
1 taza o 100gr harina de avena
1/2 cucharadita de sal rosa del Himalaya
1/2 cucharadita de bicarbonato sódico
1/2 taza o 75gr de aceite de coco (derretido)
1 taza o 140gr azúcar de coco
2 huevos
1 cucharadita de extracto vainilla
Relleno de cheesecake, he usado las sobras del relleno de este Cheesecake de Fresa y Chocolate, sino mezclar un poco de queso crema con nata y endulzante al gusto
PASOS
Pre calentar el horno a 175C. Poner papel de horno en una bandeja.
En un bol, mezclar todos los ingredientes secos (harina de almendra, harina de avena, sal, bicarbonato sódico). Reservar.
En otro bol, batir los huevos y añadir el aceite de coco, azúcar de coco y extracto vainilla.
Verter los ingredientes secos a la mezcla anterior y mezclar hasta que quede bien integrado todo.
En la bandeja con el papel de horno, verter una cucharada de galleta y añadir por encima otra cucharada de relleno de cheesecake. Luego “tapar” con otra cucharada de galleta por encima. Se os puede salir el cheesecake por los lados, pero no pasa nada porque se va a cocinar (como me ha pasado en algunas, se aprecia en las fotos de más arriba).
Repetir el proceso para 10 galletas. Necesitarás 2 bandejas, ya que hay que dejar espacio entre las galletas porque se van a expandir en el horno.
Hornear durante 15 minutos o hasta que estén doradas.
Dejar enfriar las galletas en una rejilla y a disfrutarlas!
* Conservar en un recipiente hermético a temperatura ambiente o en nevera.
¿Habéis hecho esta receta?
¡Me encantaría saber que tal os ha quedado! Dejar un comentario en la sección de abajo y compartir una foto en Instagram con el hashtag #yourdailynutrients y enviarme un mensaje así puedo veros y compartir!
¡Mil gracias!
Check us out on Facebook & Instagram for our latest healthy content!

Hello Food Lovers!
We created YOUR DAILY NUTRIENTS in order to share and educate with healthy recipes and Diabetic tips.
To motivate you to achieve a healthy lifestyle and control your diabetes at your best!
BROWSE RECIPES by category
Follow us on Instagram to get the latest content on healthy baking and recipes!