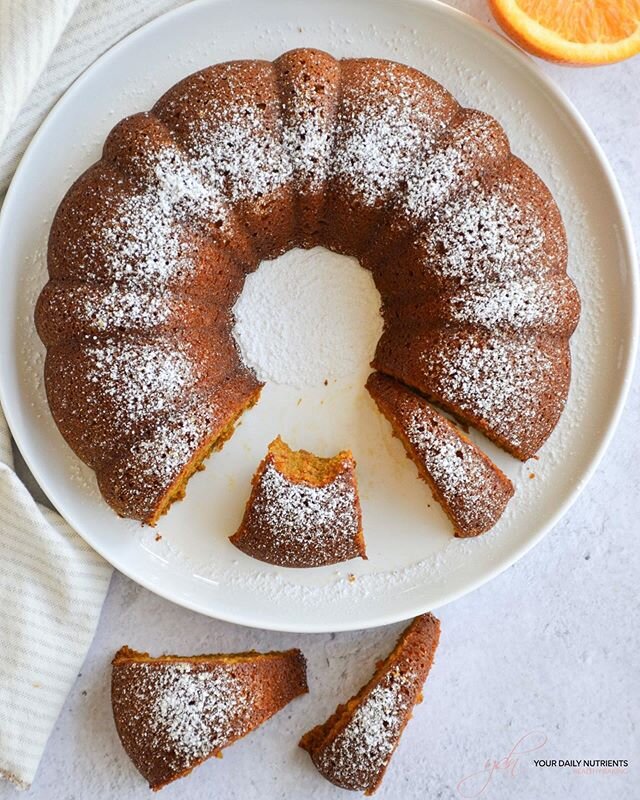
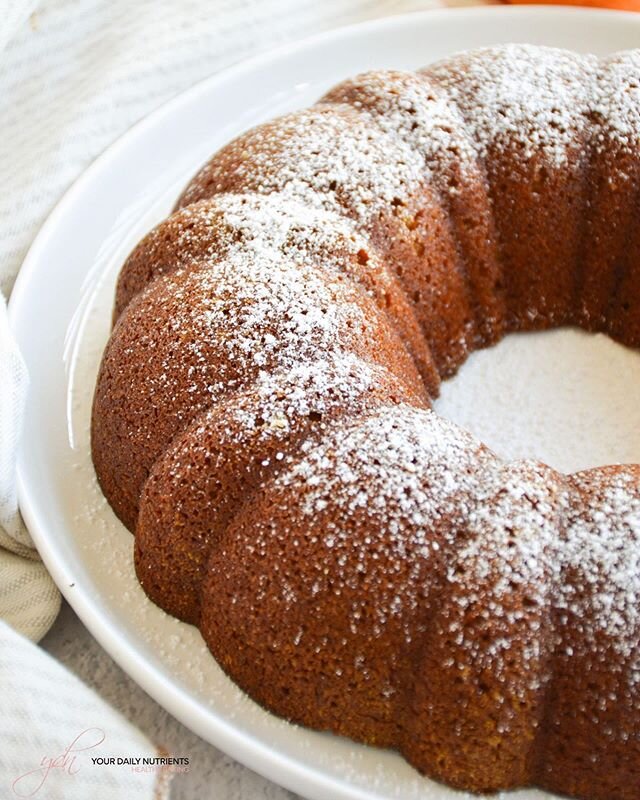
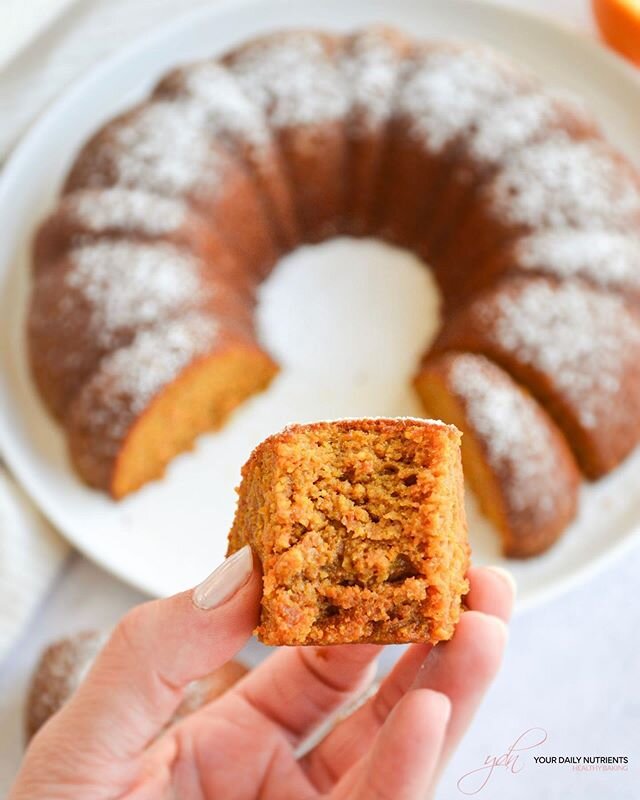
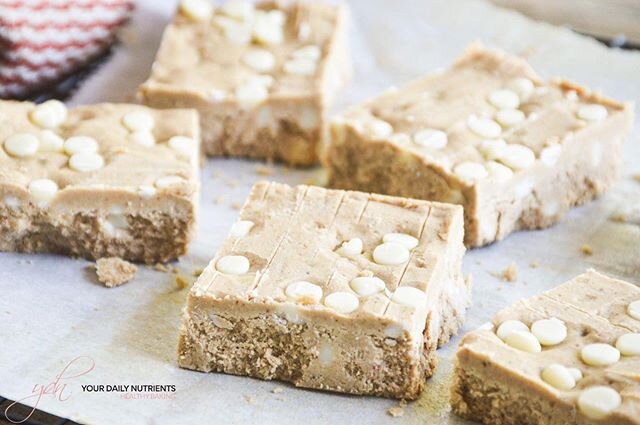
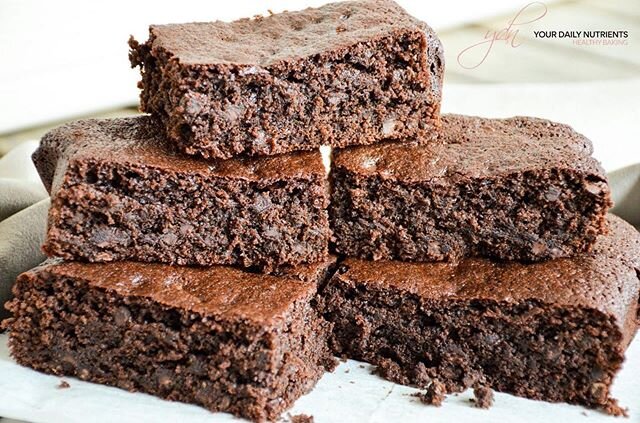
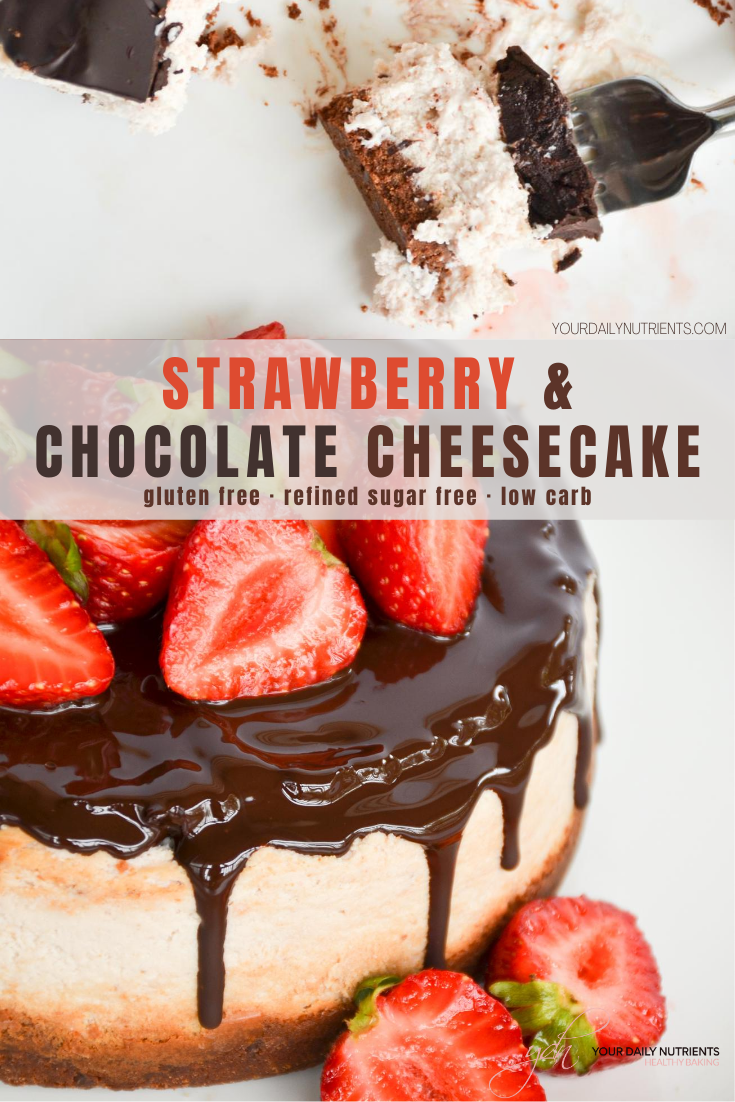
STRAWBERRY CHOCOLATE CHEESECAKE
- VERSION EN ESPAÑOL AL FINAL DE LA PÁGINA -
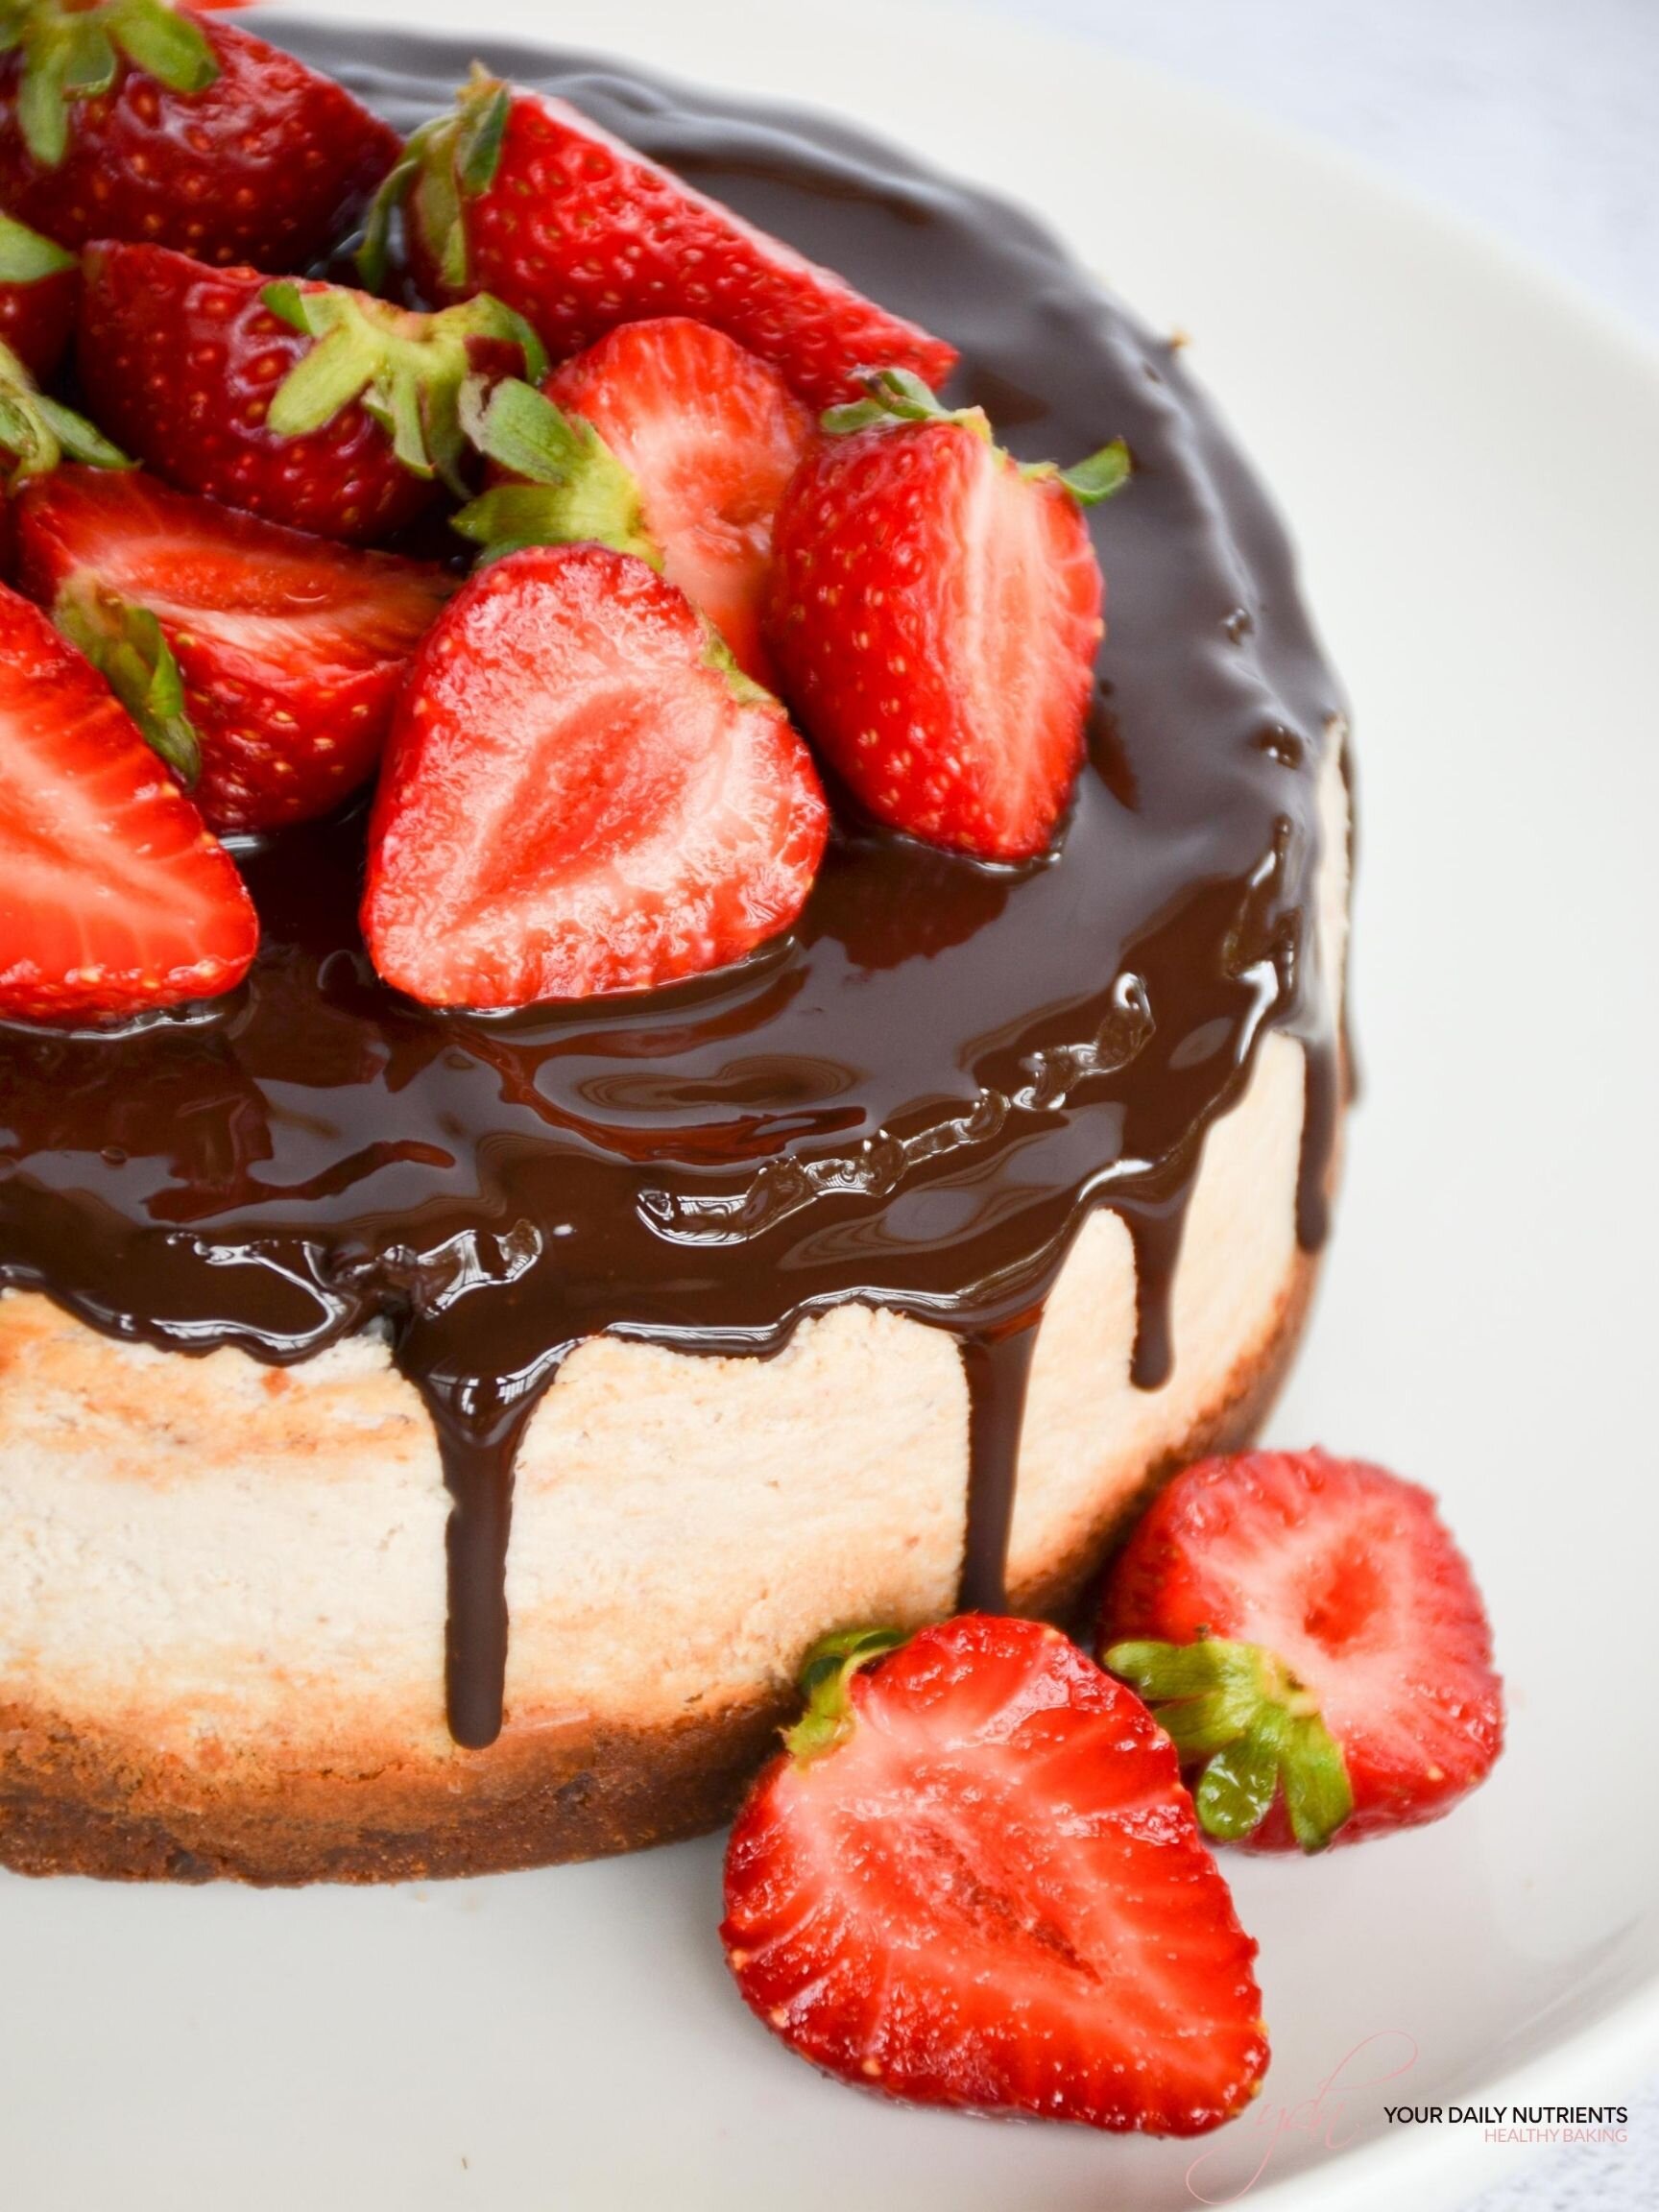
Yesterday was my birthday and my fiancé wanted to make my birthday cake! So I just wrote down the ingredients and he did the rest! It turned out really well! Thanks love!
The combination of cream cheese with strawberries and chocolate is so delicious! The texture of the cheesecake part resembles a strawberry mousse. He made it low sugar as well, since the sweetener used is erythritol :)

DIABETIC DIET TIP
This healthy recipe for this healthy cake is so tasty! Healthy Cheesecake anyone?
This recipe is made with few ingredients, all of them low sugar! Only the crust has sugar content, the rest is so low!! And because I used full fat cream cheese and cream, its fats will help to prevent a sugar spike when eating a slice of this delicious Strawberry Chocolate Cheesecake!
Remember to always check your sugar levels before eating and start eating when they’re stable around 80-120 mg/dL.
Let me know how it turned out for you!!

INGREDIENTS
Crust:
130gr of graham crackers OR (1 cup or 95gr of almond flour + 30gr coconut flour + 50gr of erythritol or coconut sugar)
30gr grass fed butter or coconut oil
2 tablespoons cacao powder
2 tablespoons dark chocolate chips
Filling:
400gr grass fed cream cheese
200ml of heavy whipping cream
2 organic eggs
50gr erythritol or coconut sugar
2 tablespoons of fresh lemon juice
150gr fresh strawberries
Optional: 1-2 scoops vanilla/strawberry protein powder
STEPS
Pre heat oven at 350F/175C.
Cover the base of a 6inch/12cm round mold (with removable base) with parchment paper.
Mix all the crust ingredients together.
Transfer dough to the mold. Using a measuring cup or your fingers, evenly press dough in bottom. Refrigerate.
In a large bowl, beat the cream cheese, sweetener and heavy cream.
Add the eggs and mix until fully combined.
Blend the strawberries with lemon juice and add it to the mixture.
Add the filling to the mold with the crust and bake for 50 minutes.
Let it cool on the mold and refrigerate for at least 5 hours before eating. I always make cakes at least the day before eating them, they’re much better in flavor and consistency!!
* Store the cheesecake in the fridge or freeze it.
! ! ! E N J O Y ! ! !
Did you make this recipe?
Please let me know how it turned out for you! Leave a comment below and share a picture on Instagram with the hashtag #yourdailynutrients and send me a DM so I can see you and share!
Thanks so much!
🇪🇸 Spanish:
Ayer fue mi cumple, y esta vez mi prometido quiso hacerme el pastel! Yo le di la lista de ingredientes y cantidades y el lo hizo todo. Es un cheesecake de fresas y chocolate.
¡¡Muy bajo en azúcares!!
INGREDIENTES
Base:
130gr galletas digestive o maria O (95gr harina de almendra + 30gr harina de coco + 50gr eritritol o azúcar de coco)
30gr mantequilla de vacas de pasto o aceite de coco
2 cucharadas de cacao puro en polvo
2 cucharadas de pepitas de chocolate negro
Relleno:
400gr de queso crema ecológico (entero, nada de bajo en grasa)
200ml nata para montar orgánica (la de mas % graso)
2 huevos ecológicos
50gr de eritritol o azúcar de coco
2 cucharadas zumo de limón exprimido
150gr de fresas (frescas, no congeladas)
Opcional: 1-2 cucharadas de proteína de vainilla o fresa
PASOS
Pre calentar el horno a 175C.
Cubrir la base de un molde redondo desmontable de 12cm con papel para horno.
Mezclar bien todos los ingredientes de la base, verter en el molde y apretar bien con los dedos por toda la base. Dejar en nevera.
En un bol, batir el queso crema, nata y endulzante.
Añadir los huevos y mezclar hasta que quede bien integrado.
Triturar las fresas con el zumo de limón.
Añadir las fresas trituradas y mezclar todo junto. Hornear durante 50 minutos.
Dejar enfriar en el molde y luego conservar en nevera al menos 5 horas antes de servir. Yo siempre lo hago como mínimo el día anterior a consumirlo, está más bueno!!
* Conservar en nevera o congelarlo.
! ! ! D I S F R U T A D L O ! ! !
¿Habéis hecho esta receta?
¡Me encantaría saber que tal os ha quedado! Dejar un comentario en la sección de abajo y compartir una foto en Instagram con el hashtag #yourdailynutrients y enviarme un mensaje así puedo veros y compartir!
¡Mil gracias!
Check us out on Facebook & Instagram for our latest healthy content!

Hello Food Lovers!
We created YOUR DAILY NUTRIENTS in order to share and educate with healthy recipes and Diabetic tips.
To motivate you to achieve a healthy lifestyle and control your diabetes at your best!
BROWSE RECIPES by category
Follow us on Instagram to get the latest content on healthy baking and recipes!