HEALTHY NEW YORK STYLE CHEESECAKE
Hello Food Lovers!
I am reshaping this recipe since I had to edit the video again! Today’s mother day in the United States and what a better recipe for this day than a healthy classic NYC style Cheesecake.
For a great healthy dessert choice, you will need to do some cooking and healthy baking in advance!
Did you know that most of the desserts in general taste better when made at least 24hr before eating them? I say at least, and in the case of cheesecake, sometimes I even make it 48hr before! I promise this is a great tip to make your healthy desserts even more yummy!
One of my favourite desserts of all is CHEESECAKE! And while I was thinking about healthy desserts ideas to post on the blog for you, I realised I didn’t have any recipe for the traditional healthy cheesecake! That couldn’t be for long, so I decided to make it some days ago and I am sharing it with you now!
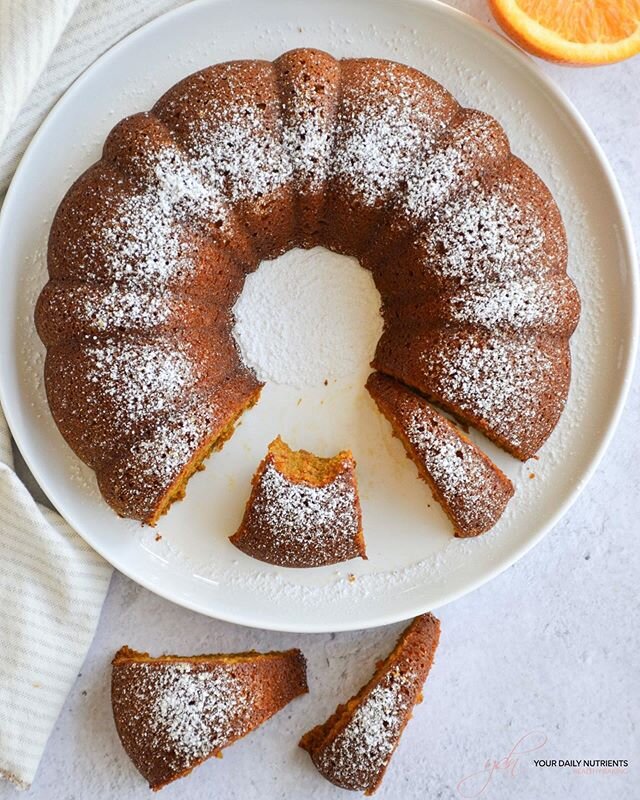
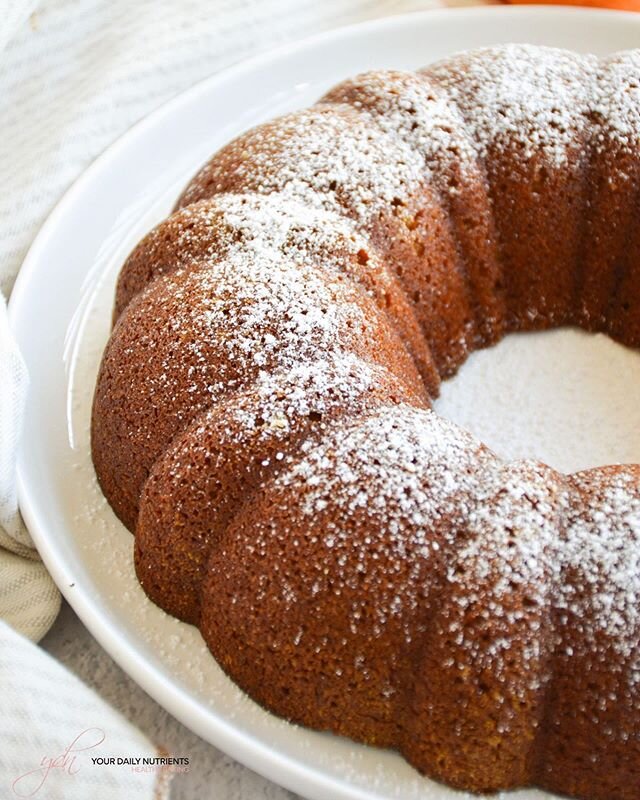
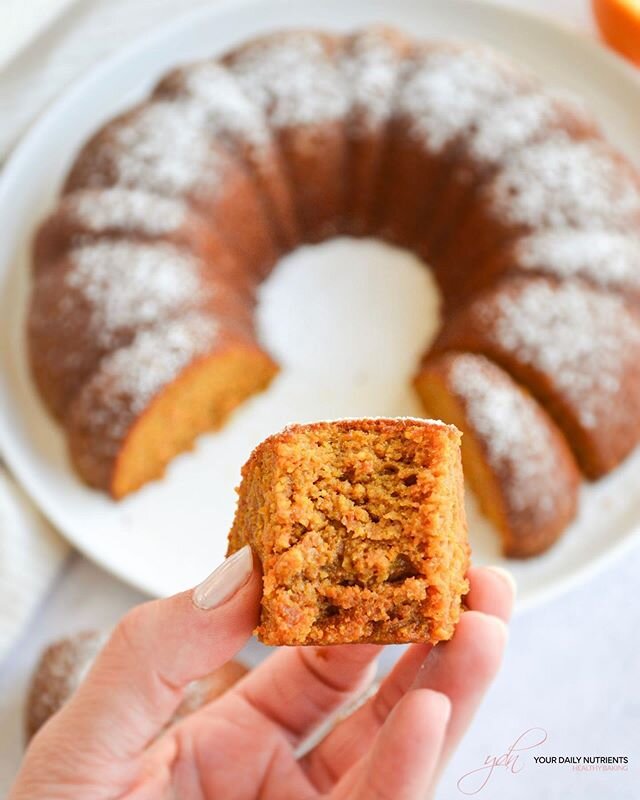
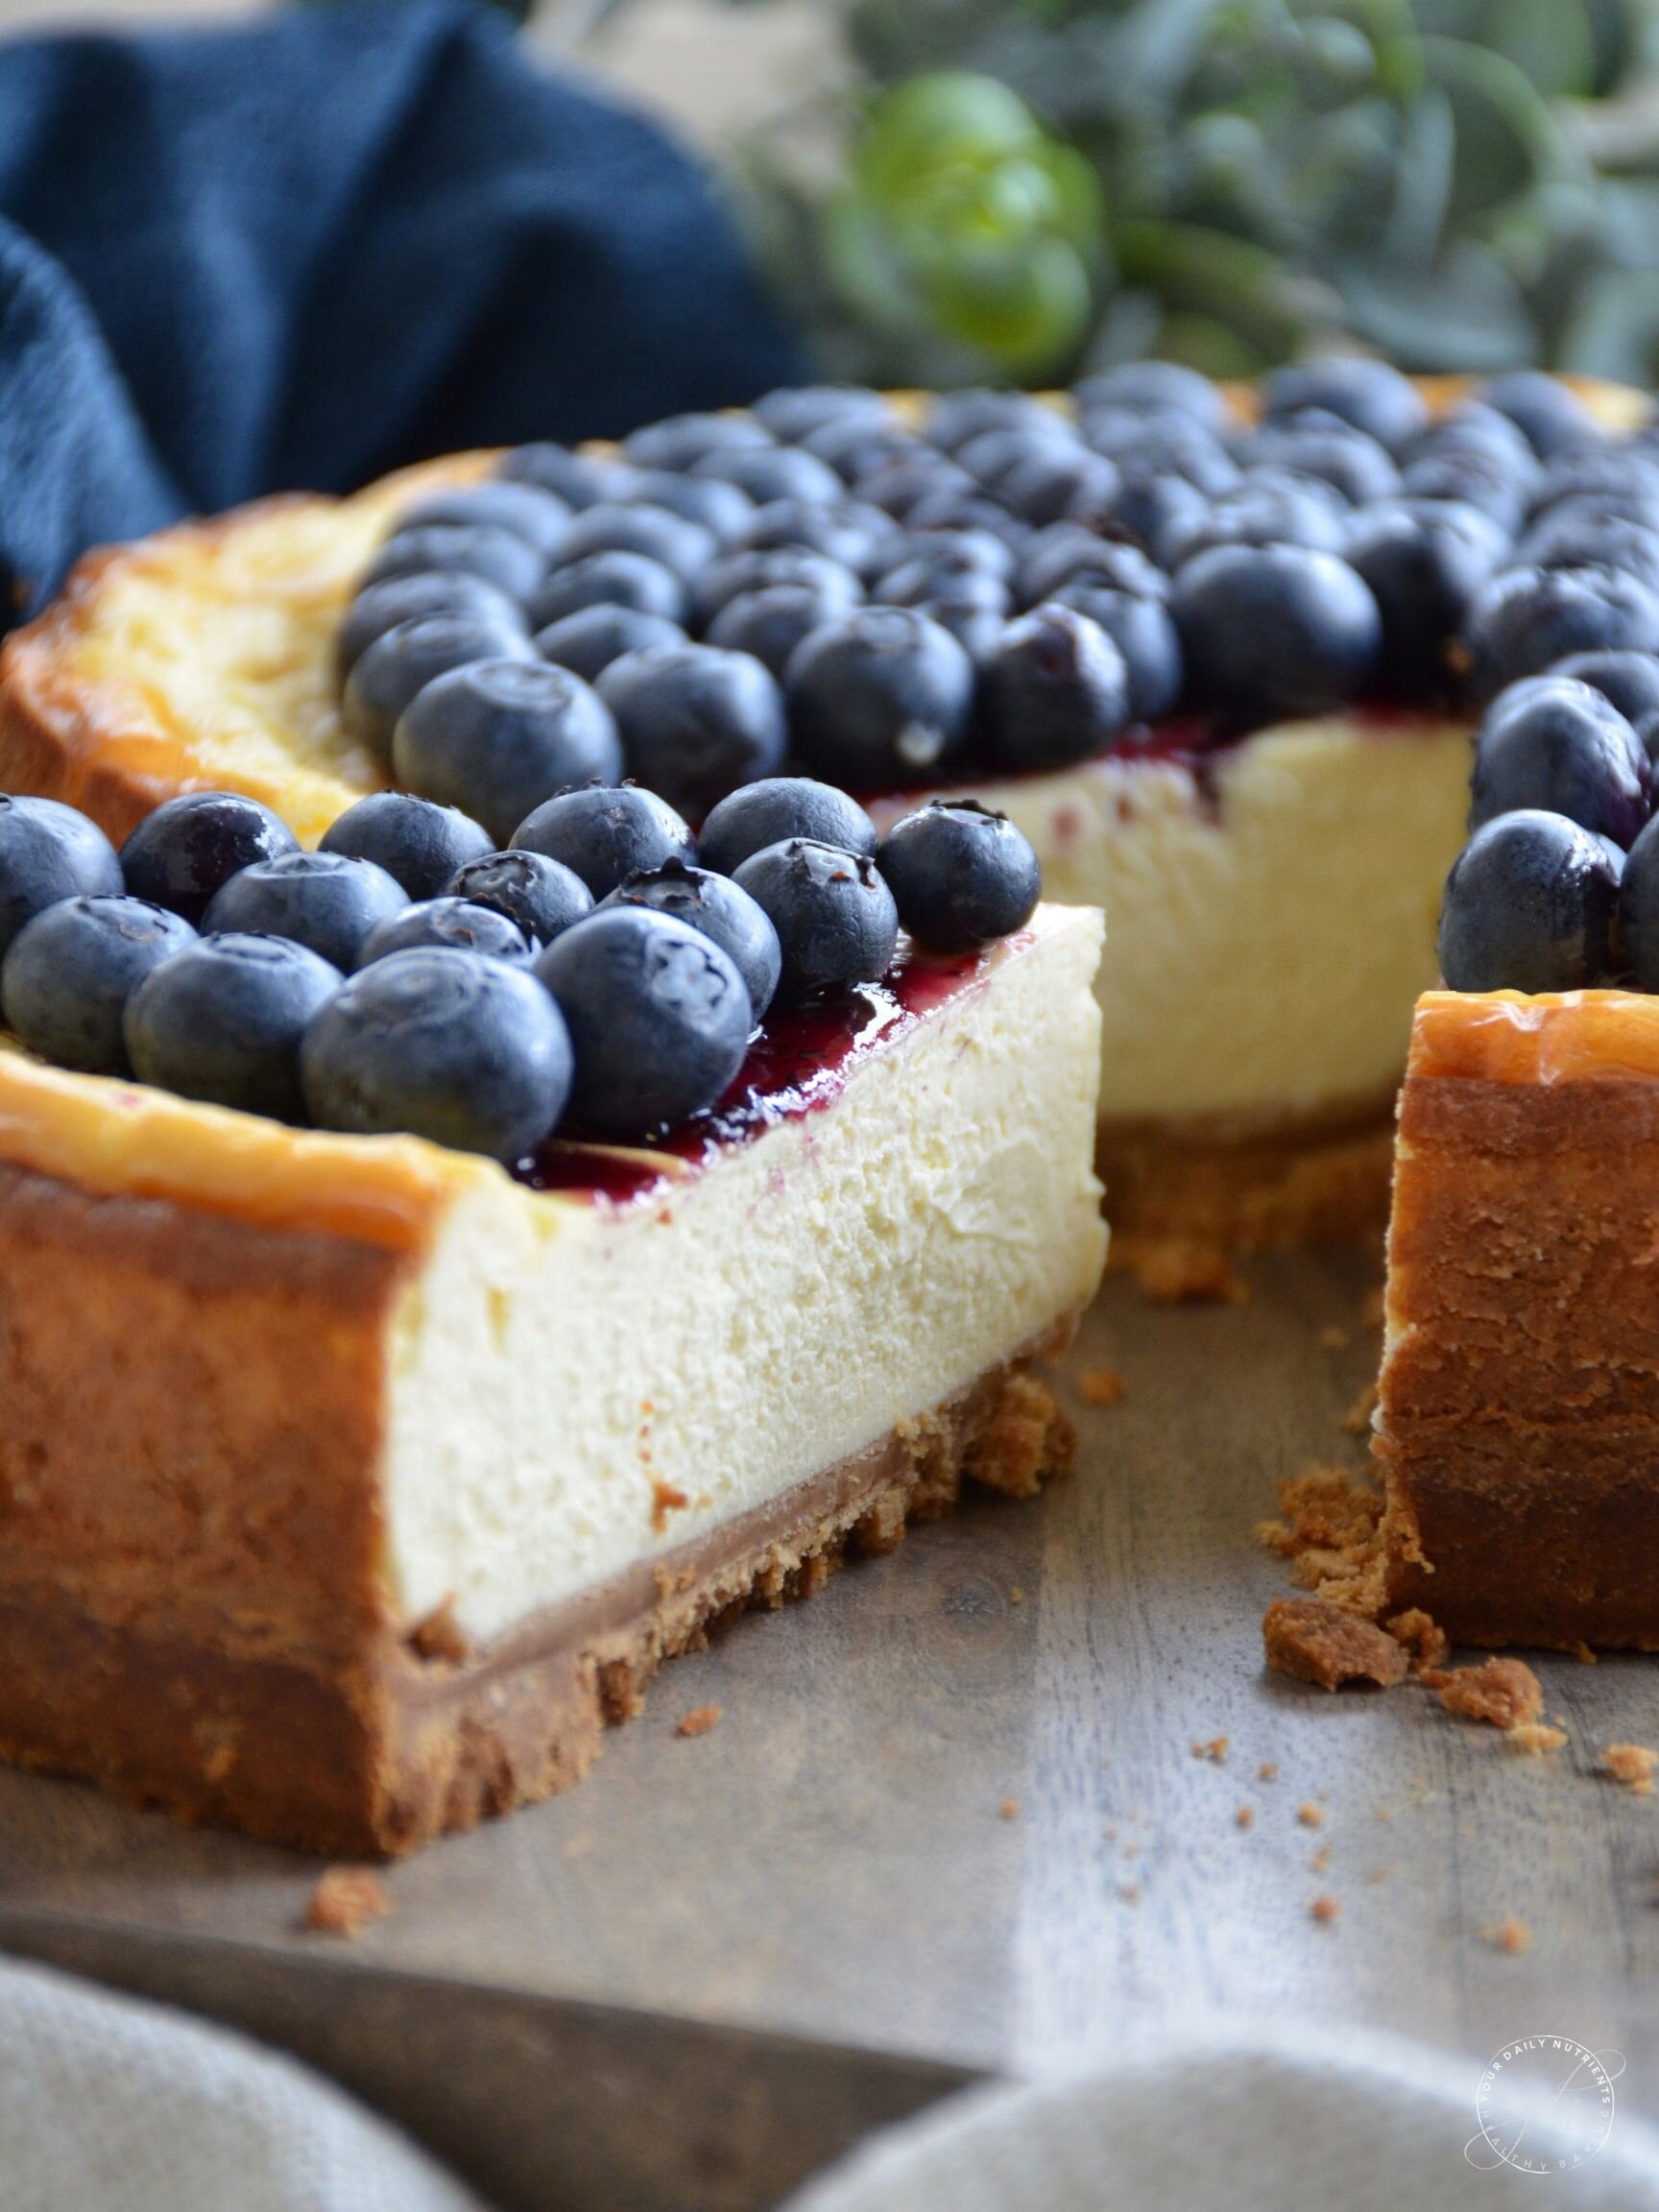
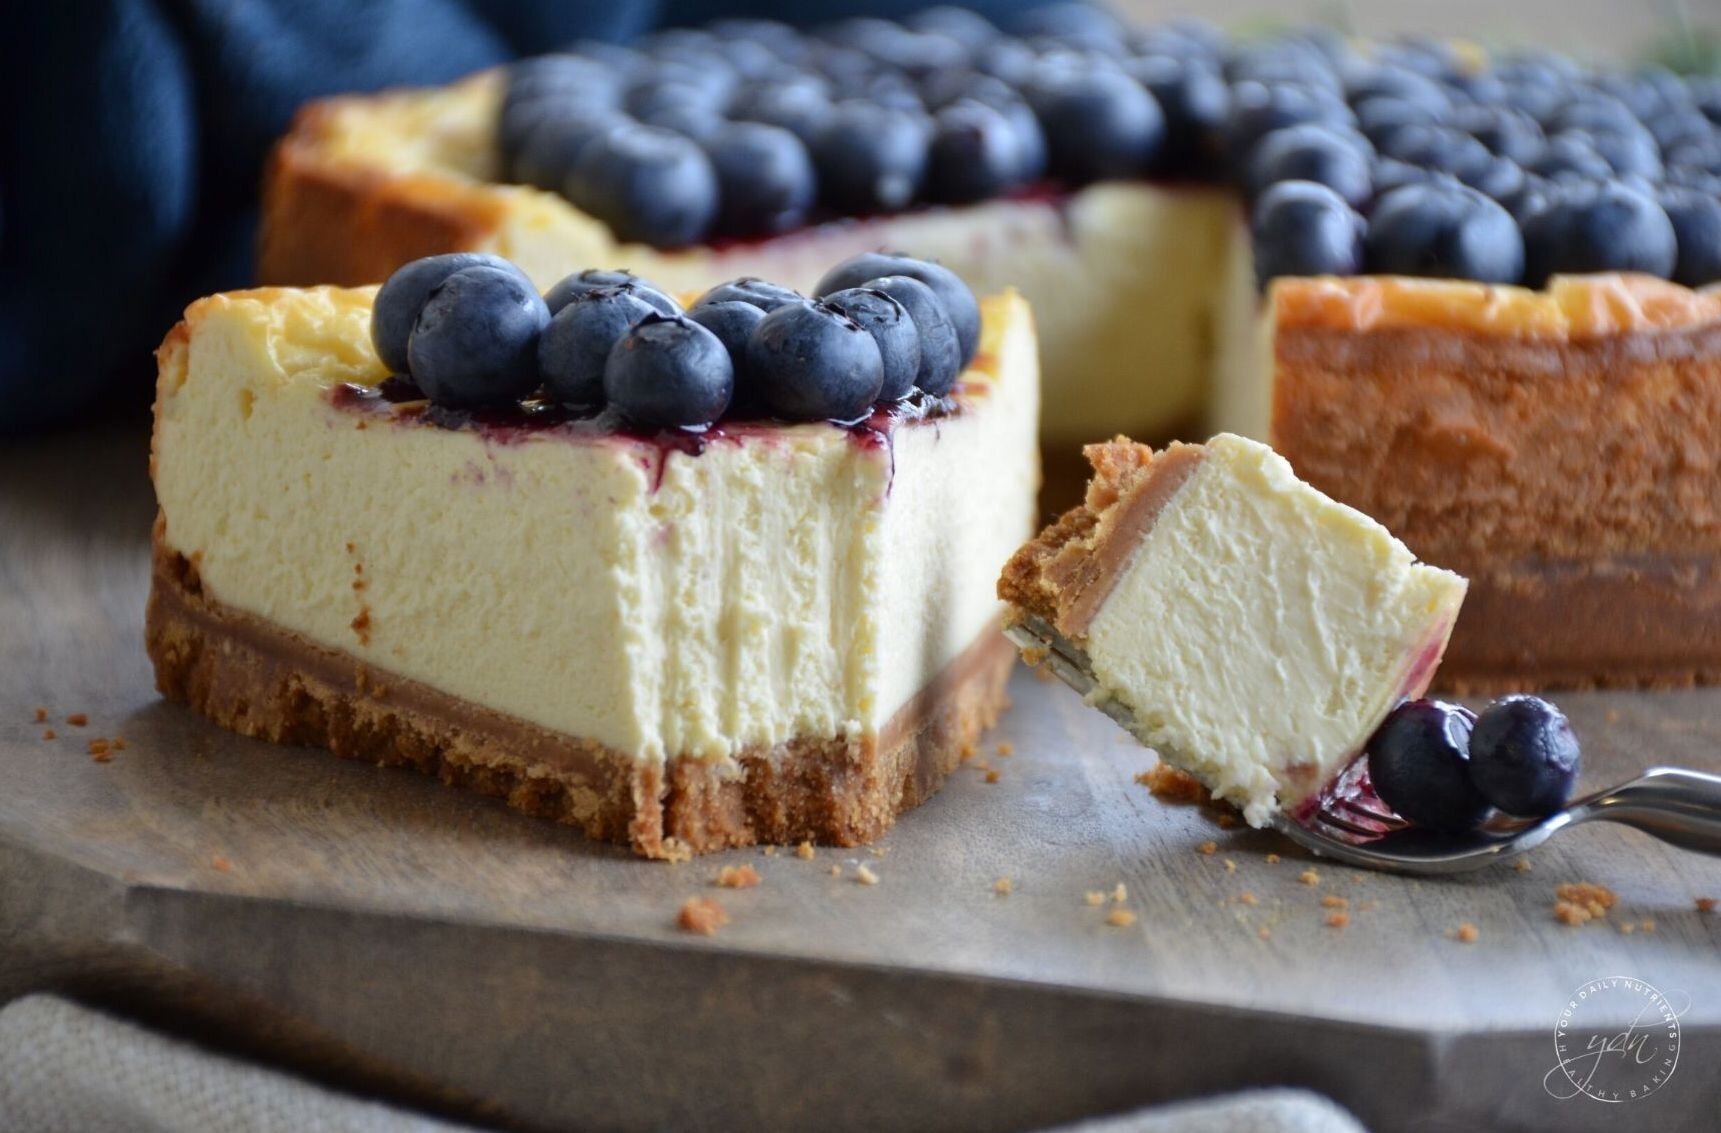
So I made this HEALTHY NEW YORK STYLE CHEESECAKE! This healthy cheesecake is made with a graham cracker crust, high quality cream cheese and cream, erithritol and coconut sugar, eggs and fresh blueberries on top!
There are sometimes that I want to have the dessert in the white range color… those times I decide to use ERYTHRITOL/MONK FRUIT as a sweetener instead of coconut sugar so I can have as much as possible white filling!
DIABETIC DIET TIP
Having “events” coming, any healthy dessert on this blog is going to be always a better alternative than any other regular dessert out there full of refined sugars and additives. This is why Your Daily Nutrients started, to help you live deliciously healthy!
So this healthy recipe is no different! Even though this healthy Cheesecake a graham cracker crust… a piece of this delicious healthy cheesecake it’s a great option! Remember to check you blood sugar levels before, during and after eating always! Since this cheesecake is sweetened with stevia, it has much less sugar than the regular Cheesecakes our there!
Remember that moderation is key ALWAYS!
Let us know if you try this deliciousnesssssss!!!!!!!!!!!!!

INGREDIENTS
Crust:
400gr of graham crackers or cookie of choice. You can also make it healthier creating your cookie crust with almond flour, coconut flour, coconut sugar and coconut oil or butter. (like this one Lemon & Coconut Tart HERE, or this other one Banana Cheesecake HERE)
1/2 cup or 75gr of grass-fed butter or coconut oil (melted)
1/2 tablespoon of ground cinnamon
Cream cheese filling:
650gr good quality cream cheese like grass-fed (at room temperature) * You can use any cream cheese, I just recommend the good quality one.
250ml grass-fed heavy cream
3 organic eggs (at room temperature)
140gr of coconut sugar or granulated sugar/sweetener of choice or 50/50
1 tablespoon of vanilla extract
2 tablespoons of brown rice flour (you can substitute for any flour, but not almond flour)
Blueberry topping:
200gr of fresh blueberries
2 tablespoons of blueberry jam
STEPS
Pre heat oven at 350F/175C. Cover the base of a round 10inch/25cm mold with parchment paper.
Blend the cookies and mix all the crust ingredients together.
Transfer dough to the mold. Using a measuring cup or your fingers, evenly press dough in bottom. Refrigerate.
In a large bowl, beat the cream cheese first and add the heavy cream.
Mix everything and add the eggs and the vanilla extract.
Mix everything and add the eruthritol and/or coconut sugar.
Mix everything and add the rice flour.
Once everything is fully combined, add the filling to the mold over the crust and bake for 1 hour.
Let it cool on the mold and refrigerate for at least 5 hours before eating. I always make cakes at least the day before eating them, they’re much better in flavor and consistency!!
Add your desired topping before consuming. I made a slight layer of blueberry jam and fresh blueberries on top.
* Store the cheesecake in an air tight container in the fridge for 1 week or freeze.
Did you make this recipe?
Please let me know how it turned out for you! Leave a comment below and share a picture on Instagram with the hashtag #yourdailynutrients and send me a DM so I can see you and share!
Thanks so much!
🇪🇸 Spanish:
Os comparto la receta de el clásico Cheesecake! Esta vez está hecho con una base de galletas, pero para una versión más saludable podéis hacer vuestra propia base como la de esta otra receta mía Tarta de Limón y Coco AQUÍ, o esta otra de cheesecake de plátano AQUÍ.
El relleno no lleva azúcar, está endulzado con eritritol ya que he querido mantener el color blanco del relleno, porque el azúcar de coco haría que el relleno se vea beige/marrón claro.
Como topping, es preferible usar la fruta fresca, como arándanos o fresas!
INGREDIENTES
Base de galleta:
400gr de galleta (la que queráis). Podéis hacer la base de galleta vosotros, en versión más sana con harina de almendra, harina de coco, azúcar de coco y aceite de coco o mantequilla de buena calidad (como esta base de esta otra receta mía AQUÍ)
1/2 taza o 65gr de mantequilla de vacas de pasto o aceite de coco (derretida)
1/2 cucharada de canela en polvo
Relleno de queso crema:
650gr de queso crema de buena calidad (a temperatura ambiente) *Podéis usar el queso crema que queráis, yo recomiendo uno de buena calidad!
250ml de nata para montar
3 huevos ecológicos (a temperatura ambiente)
140gr de azúcar de coco o azúcar/eritritol o mitad de cada uno
2 cucharadas de harina de arroz integral (podéis substituir por la harina que queráis)
1 cucharada de extracto de vainilla
Topping de arándanos:
200gr de arándanos frescos
2 cucharadas de mermelada de arándanos
PASOS
Pre calentar el horno a 175C.
Cubrir la base de un molde redondo de 20 cm con el papel de horno.
Triturar las galletas para la base y mezclar con mantequilla o aceite de coco derretido y canela. Mezclar bien y verter en el molde, apretar bien con los dedos por toda la base. Dejar en nevera.
En un bol, batir el queso crema y añadir la nata.
Mezclar bien y añadir los huevos y la vainilla.
Mezclar bien y añadir el eritritol o azúcar de coco.
Mezclar bien y añadir la harina de arroz.
Una vez todo bien mezclado, verter el relleno por encima de la base de galleta y hornear durante 1 hora.
Dejar enfriar en el molde y ponerlo en la nevera al menos 5 horas antes de servir. Yo siempre intento hacer los pasteles el día anterior, la consistencia y el sabor es mejor!!
Poner el topping deseado antes de consumirlo. Yo he puesto una capa fina de mermelada y arándanos frescos por encima.
* Conservar en nevera o congelar en trozos, así podéis comer un trocito cuando os apetezca.
¿Habéis hecho esta receta?
¡Me encantaría saber que tal os ha quedado! Dejar un comentario en la sección de abajo y compartir una foto en Instagram con el hashtag #yourdailynutrients y enviarme un mensaje así puedo veros y compartir!
¡Mil gracias!

Check us out on Facebook & Instagram for our latest healthy content!

Hello Food Lovers!
We created YOUR DAILY NUTRIENTS in order to share and educate with healthy recipes and Diabetic tips.
To motivate you to achieve a healthy lifestyle and control your diabetes at your best!
Follow us on Instagram to get the latest content on healthy baking and recipes!