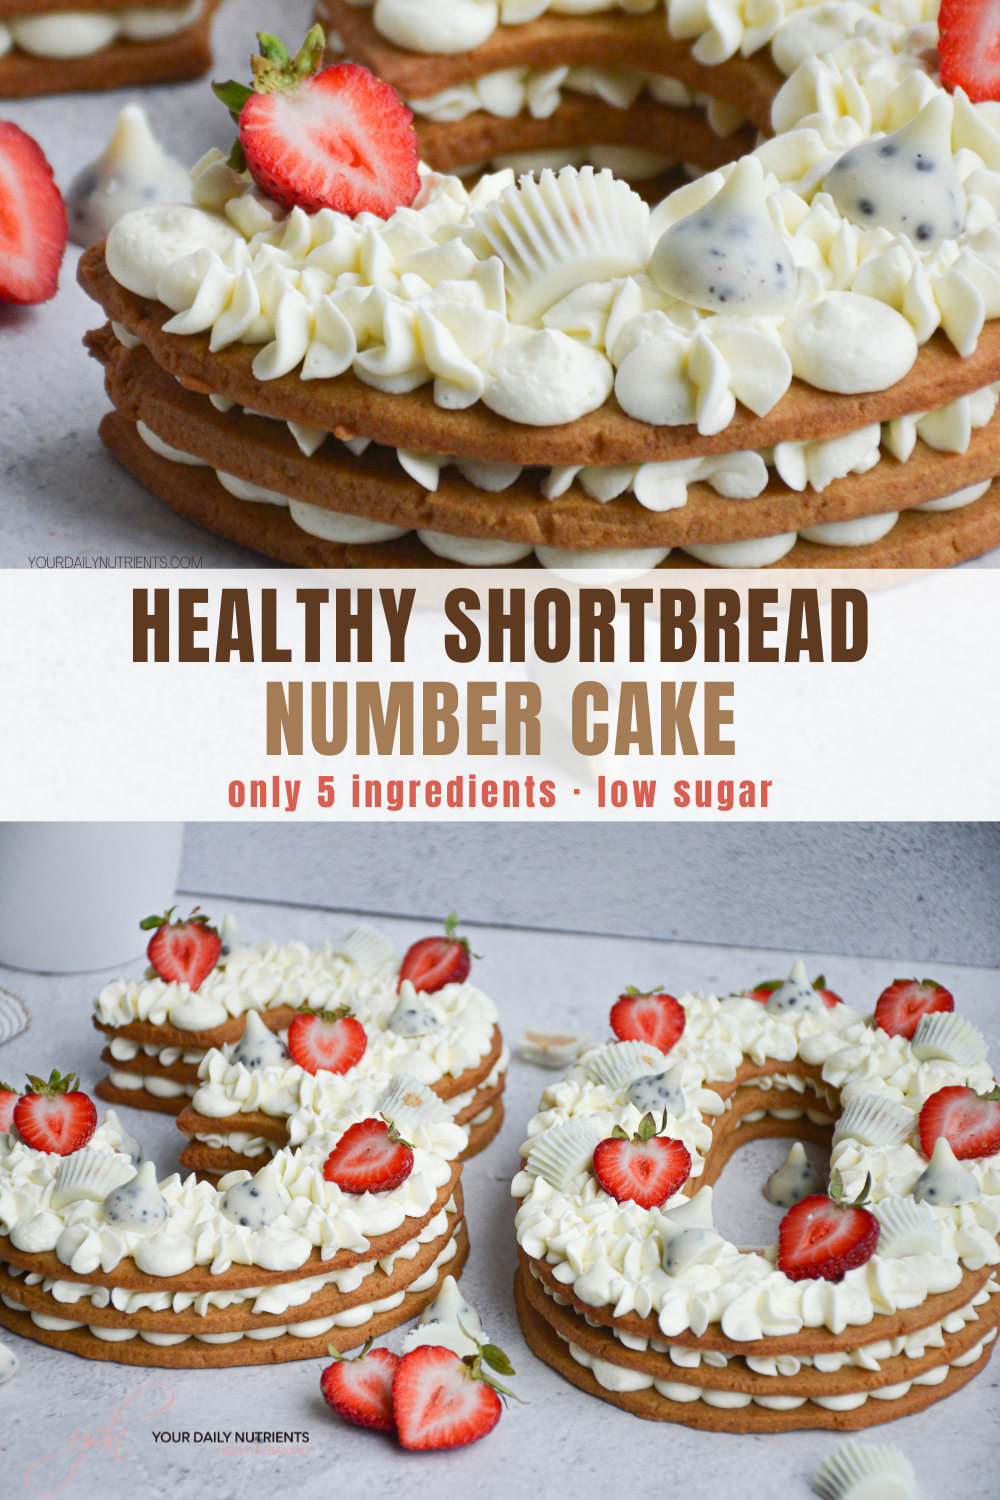
HEALTHY BIRTHDAY CAKE - NUMBER CAKE
- VERSION EN ESPAÑOL AL FINAL DE LA PÁGINA -
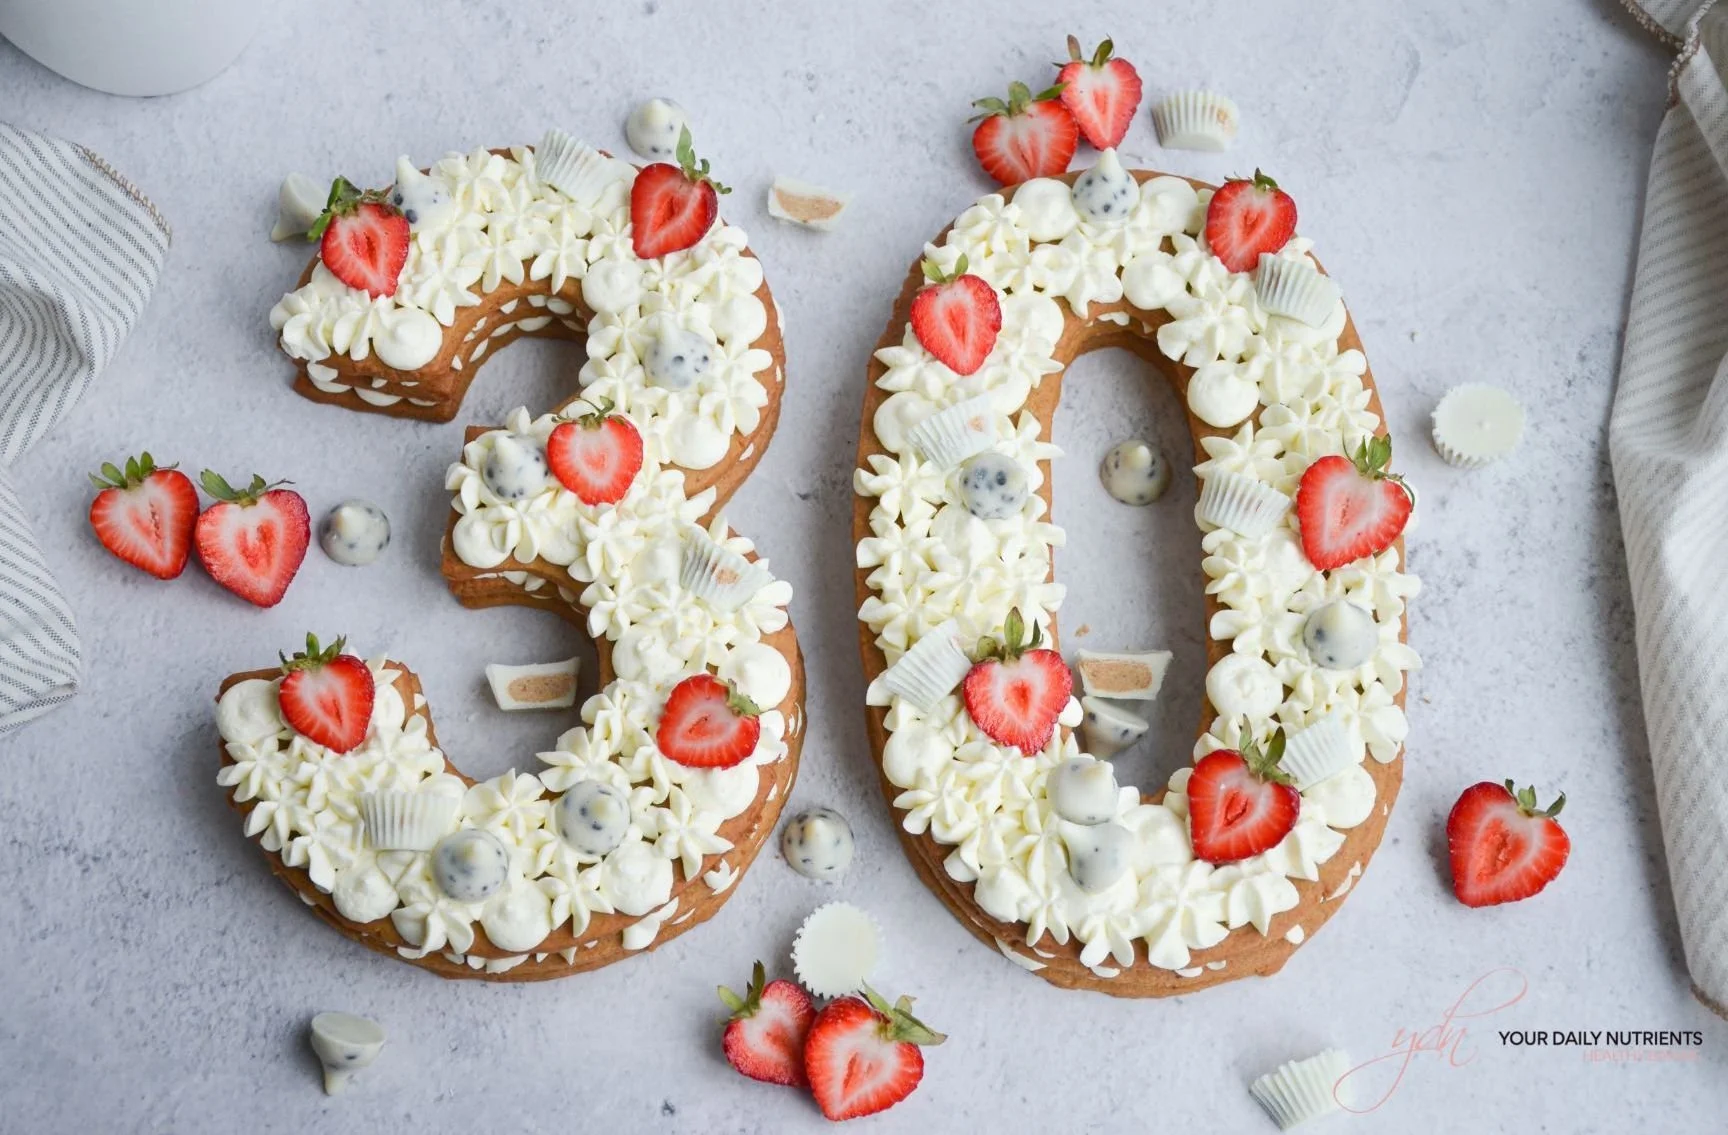
This is the 2nd time I make a number Birthday cake for myself. I did a chocolate one for my 27 and this year I did a shortbread cookie number shape for my 30th birthday! It turned out delicious so I am going to share the recipe with you all!

DIABETIC DIET TIP
The shortbread cookie is made with einkorn flour this time, to resemble as much as possible the flavor of a traditional shortbread cookie. I made a mix of sweetener with coconut sugar so the sugar content is quite low and the frosting is made with a combination of cream cheese, whipped cream, sweetener and lemon. So the overall sugar content of this delicious cake is low and has a good amount of fat that will help balance the amount of carbs and avoid a sugar spike.
Remember to always check your sugar levels before and after a meal, specially when eating dessert!
In this case I would recommend to eat this cake as a dessert after a meal to help with sugar levels and if you want to eat it as a snack, make sure to combine it with some yogurt or protein shake!

Author - Lucía
Prep Time - 1 hour
Cook Time - 2 hours
Ready in - 3 hours
Servings - 20 slices
INGREDIENTS
Shortbread Cookie (2 numbers, you´ll need to do 3 layers)
200gr einkorn flour or regular whole wheat flour (but einkorn will be digested better for people with gluten issues) For a gluten free version make this gluten free cookie recipe instead.
115gr grass-fed butter (at room temperature)
30gr erythritol
45gr coconut sugar
1/2 tablespoon vanilla extract
1 teaspoon of salt
Frosting
400gr cream cheese (at room temperature)
250ml whipped cream
1 tablespoon fresh lemon juice
2 tablespoons powedered erythritol
1 teaspoon vanilla extract
STEPS
Shortbread cookie
First of all you will have to print the numbers and cut them to make a template so you can cut the cookie in the shape of the number. In my case I printed in an A4 sheet a 3 and in another A4 sheet a 0.
In a bowl, mix the butter with the erythritol, coconut sugar and vanilla extract until fully combined. You can do it with a spatula or a hand mixer for better results.
Add the flour and mix until fully combined, you should be able to form a ball with your hands and not have a sticky dough.
Leave the dough shaped in a ball in the fridge covered in parchment paper for 10 minutes.
Preheat the oven to 350F/175C.
Once cooled, grab half of the dough and flatten it with a roller on top of parchment paper. Once evenly flatten, place the template of one of the numbers on top and cut with a knife following its shape.
Leave the cookie number in the fridge (in a tray to make sure it stays flat) while you do the other number repeating the same process.
Once you have the 2 numbers and after leaving them inside de fridge for 5 minutes, bake them for 1'0-15 minutes or until golden brown.
Once baked, leave the number cookies on a rack until completely cooled.
Repeat the process for the other 2 layers of numbers.
Frosting
In a bowl, beat the cream cheese at room temperature and add the cold whipped cream, mix until fully combined.
Add the powdered erythritol and the vanilla and mix until fully combined.
Place the frosting in a pipping bag with the desired pipping nozzles and leave in the fridge for 10 minutes.
Assembly of layers
Once the 3 layers of numbers are baked and cooled and the frosting is ready in its pipping bag, assemble the layers by placing the first 2 numbers on the base where you will present the cake or carry the cake.
Decorate the numbers with the frosting and place the 2nd layer of cookie numbers on top, make sure they fit exactly on top of each other, there is no need to press. Repeat for the 3rd layer.
To decorate the last layer of frosting, choose some of your favorite candy and or fruits and it will be ready to eat!
* Store in the fridge for one week or freeze for 1 month.
Did you make this recipe?
Please let me know how it turned out for you! Leave a comment below and share a picture on Instagram with the hashtag #yourdailynutrients and send me a DM so I can see you and share!
Thanks so much!
🇪🇸 Spanish:
Este super pastel saludable que hice para mis 30 no te dejará indiferente.
Decidí hacerlo con harina de trigo EINKORN para que fuera lo más parecido en sabor a la galleta tradicional, pero si eres celíac@ te dejo otra opción para poder hacerlo igualmente!
Es bastante bajo en azúcares y sólo necesitas 5 ingredientes, pero es laborioso por las 3 capas de galleta y la forma de los números.
Es ideal tanto para diabéticos como para no diabéticos, como siempre en todos mis postres! Espero que te guste!
Autora - Lucía
Preparación - 1 hora
Horno - 2 horas
Listo en - 3 horas
Porción - 20 porciones
INGREDIENTES
Galleta (2 números, necesitarás hacer 3 capas)
200gr de harina einkorn o harina de trigo integral (la harina Einkorn es mucho más digestiva incluso para los que no toleran bien el gluten, pero si eres celíac@ mejor utiliza esta versión de galleta saludable sin gluten
115gr mantequilla de vacas alimentadas con pasto (a temperatura ambiente)
30gr eritritol
45gr azúcar de coco
1/2 cucharada de extracto de vainilla
1 cucharadita de sal
Frosting
400gr queso crema (a temperatura ambiente)
250ml nata para montar
1 cucharada de zumo de limón exprimido
2 cucharadas de eritritol
1 cucharadita de extracto de vainilla
PASOS
Galleta
Primero de todo tendrás que imprimir los 2 números que quieras para tu pastel para poder cortar la forma perfecta del número. En mi caso imprimí un 3 y un 0 cada uno en un A4 y los corté para crear la plantilla que colocaremos encima de la galleta para darle forma.
En un bol, mezclar la mantequilla con el eritritol, el azúcar de coco y el extracto de vainilla hasta que se combinen por completo. Puedes hacerlo con una espátula o una batidora de mano para obtener mejores resultados.
Agregar la harina y mezclar hasta que esté completamente combinado, debes poder formar una bola con las manos y no tener una masa pegajosa.
Dejar la masa en forma de bola en la nevera cubierta con papel de horno durante 10 minutos.
Precalentar el horno a 175C.
Una vez enfriado, usar la mitad de la masa y aplanar con un rodillo sobre papel de horno. Una vez aplanado uniformemente, colocar la plantilla de uno de los números encima y cortar con un cuchillo siguiendo su forma.
Dejar el número de galleta en la nevera (en una bandeja para asegurarse de que quede plano) mientras se hace el otro número repitiendo el mismo proceso.
Una vez se tengan los 2 números y después de dejarlos dentro de la nevera durante 5 minutos, hornear durante 10-15 minutos o hasta que estén dorados.
Una vez horneadas, dejar las galletas número sobre una rejilla hasta que se enfríen por completo.
Repetir el proceso para las otras 2 capas de galleta.
Frosting
En un bol, batir el queso crema a temperatura ambiente y agregar la nata fría, mezclar hasta integrar por completo.
Agregar el eritritol en polvo y la vainilla y mezclar hasta que esté completamente combinado.
Colocar el frosting en una manga pastelera con las boquillas deseadas y dejar en la nevera durante 10 minutos.
Montaje de capas
Una vez horneadas y enfriadas las 3 capas de números y listo el glaseado en su manga pastelera, montar las capas colocando los 2 primeros números en la base donde presentarás el pastel.
Decorar los números con el frosting y colocar la segunda capa de números de galletas encima, asegúrate de que encajen exactamente uno encima del otro, no hay necesidad de presionar. Repetir para la tercera capa.
Para decorar la última capa de frosting, elige algunos de tus dulces y/o frutas favoritos y ¡estará listo para comer!
* Conservar en la nevera durante una semana o 1 mes en el congelador.
¿Habéis hecho esta receta?
¡Me encantaría saber que tal os ha quedado! Dejar un comentario en la sección de abajo y compartir una foto en Instagram con el hashtag #yourdailynutrients y enviarme un mensaje así puedo veros y compartir!
¡Mil gracias!
Check us out on Facebook & Instagram for our latest healthy content!

Hello Food Lovers!
We created YOUR DAILY NUTRIENTS in order to share and educate with healthy recipes and Diabetic tips.
To motivate you to achieve a healthy lifestyle and control your diabetes at your best!
BROWSE RECIPES by category
Follow us on Instagram to get the latest content on healthy baking and recipes!