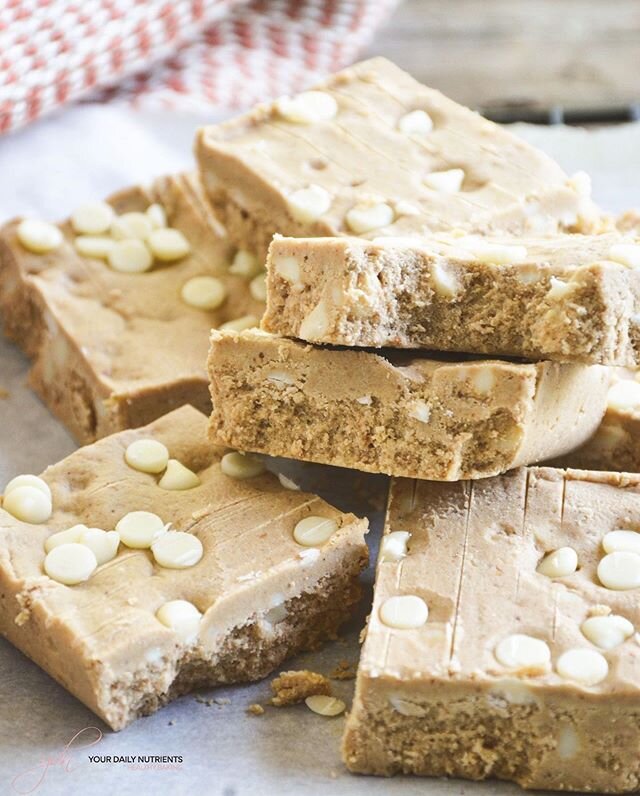
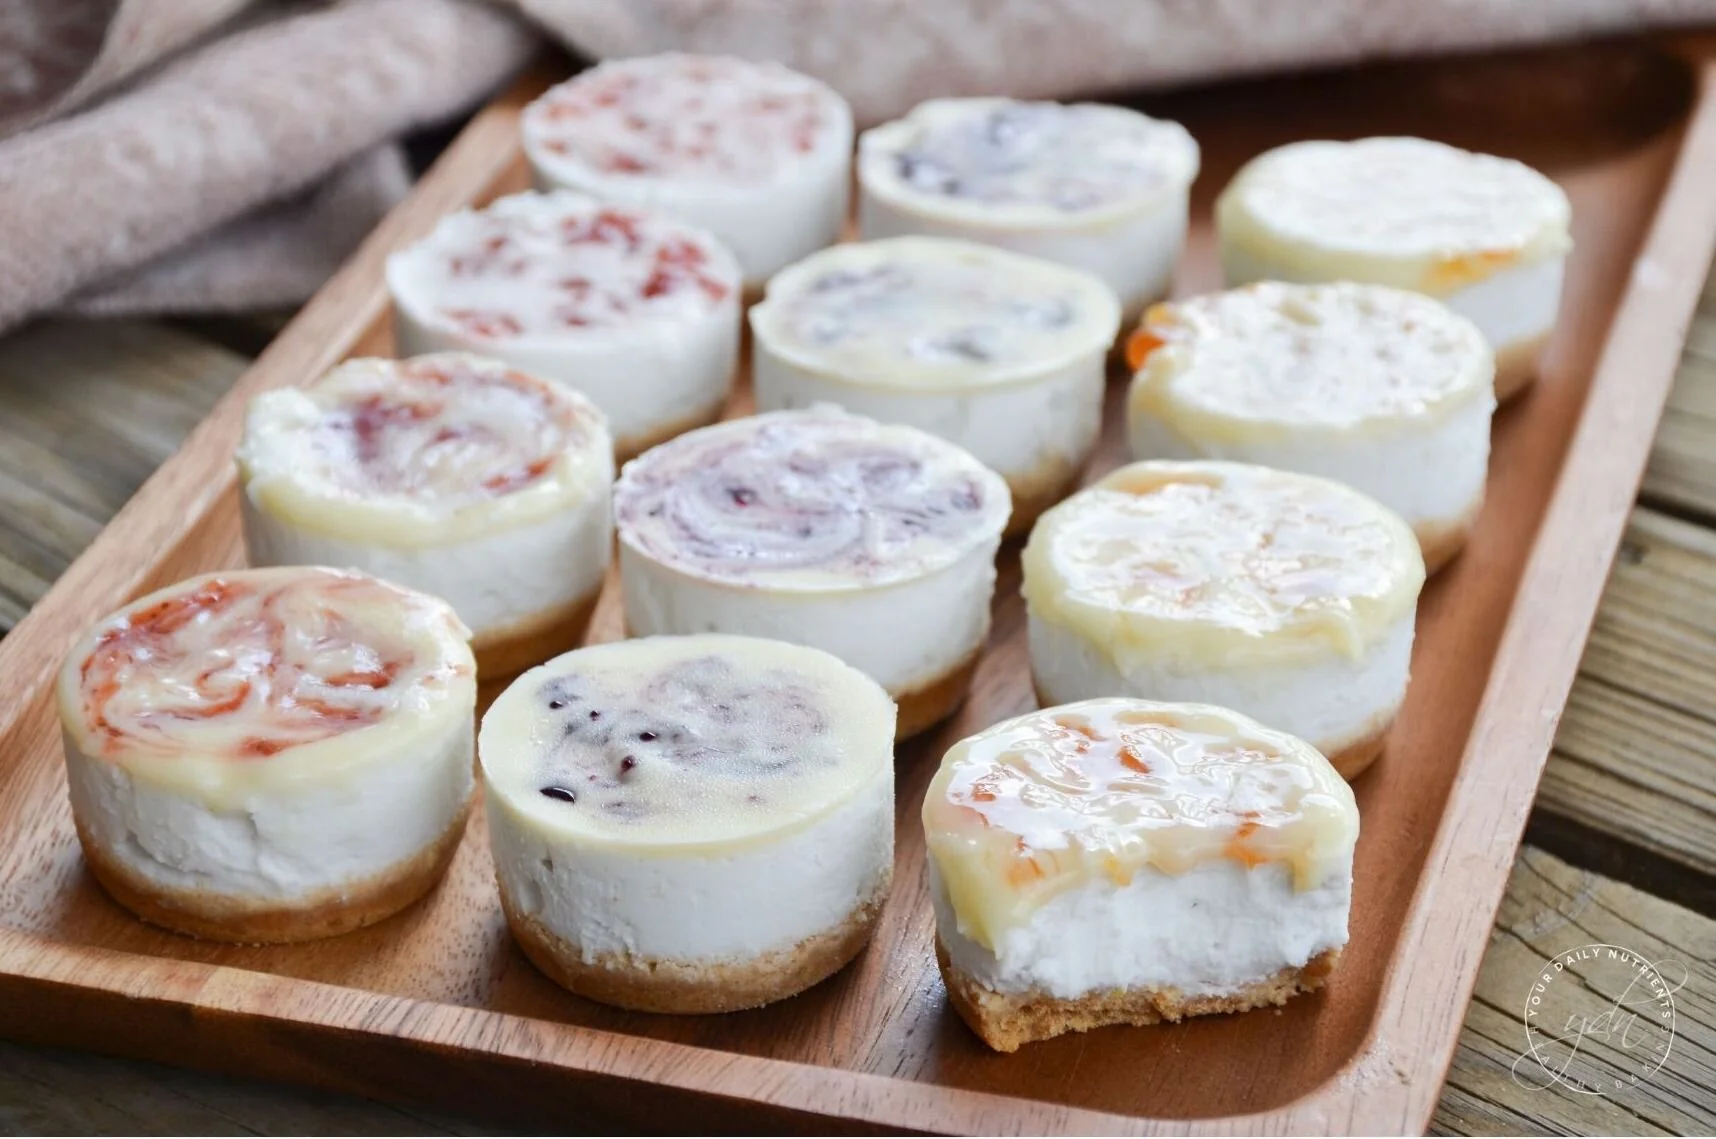
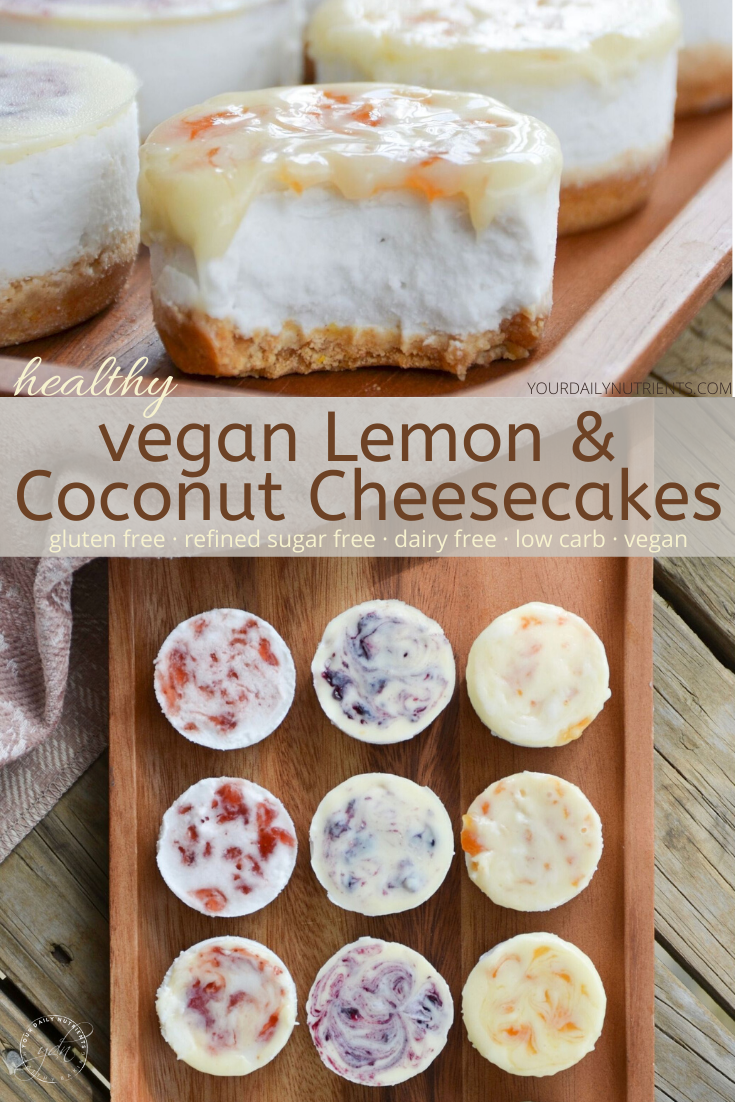
VEGAN LEMON & COCONUT MINI CHEESECAKES
- VERSIÓN EN ESPAÑOL AL FINAL DE LA PÁGINA -
This delicious and healthy mini vegan cheesecakes are so good! As long as you like coconut of course… because the filling is made with coconut milk!
These healthy cheesecakes are gluten free, refined sugar free, dairy free and VEGAN! They’re also low carb, since the only sweetener used is erythritol/monk fruit, so it’s a great sugar-free dessert or snack!

As you can see on the picture below, the coconut milk should be firm. To achieve this, is very important to keep the coconut milk can in the fridge at least 5 hours or preferably overnight.
Once you open the can you will see it’s very thick on the top so you can use all the thick part and the liquid will remain in the bottom of the can. You can use a little bit of the liquid part to help you blend the thick part and the rest for other desserts or drinks

COCONUT MILK - THICK PART

DIABETIC DIET TIP
These healthy lemon and coconut vegan “cheesecakes” are a great idea for a healthy dessert or snack! The crust is sweetened with coconut sugar and the filling with erythritol but you can also use erythritol for the crust if you want to have less sugar content!
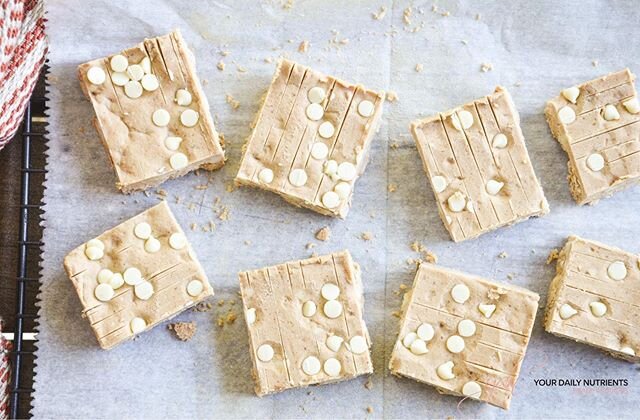
I also used white chocolate as a topping, very little, but it’s still white chocolate and has sugar or use sugar free white chocolate. So you can also omit this step and just use jam as a topping or any topping of choice! I made some of them just with the jam and it’s tasty as well!
As I always recommend, be sure to check your blood glucose levels before eating any sweets. You should be around 80-120 mg/dL in order to not experience any sugar spikes in this case.
INGREDIENTS
Crust:
3/4 cup or 75gr of almond flour
1/4 cup or 30gr of coconut flour
1/3 cup or 50gr of coconut sugar
1 teaspoon of lemon zest (you will need about 1/2 lemon)
1/3 cup or 55gr of grass-fed butter or coconut oil (melted)
* You can substitute with any cookie of choice to make the crust, just blend any cookie and mix with butter or coconut oil.
Coconut Lemon Filling:
1 & 1/2 can or 600ml of canned coconut milk (open 1 can and a half and use only the thick part, like I explain in the coconut milk picture above)
3 tablespoons of fresh lemon juice (you will need about 1 lemon)
1 tablespoon of vanilla extract
30gr erythritol
Topping:
Optional, but I think it’s a great touch: white chocolate with any jam of choice. You can see in the pictures I also made some without white chocolate and only the jam. I used peach flavor, strawberry and blueberry but feel free to choose whatever you like the best!
STEPS
In a bowl, mix all the crust ingredients together and evenly press dough in bottom of the mini cheesecake molds or mold of choice.
If you use cookies, just blend them and mix with the butter or oil and press them in the bottom of the molds and refrigerate.
If you make your own crust: bake at 350F/175C for 10 minutes. Remove from oven and let it cool.
In a bowl, mix the canned coconut milk (just the thick part) with the lemon juice, vanilla extract and stevia until fully combined. I used a food processor like you can see in the picture, but feel free to use a hand mixer as well.
Pour the filling over the crust and add the desired topping.
Refrigerate for at least 2 hours or overnight. If you see it’s not firm enough keep them in the freezer.
* Store in the fridge or freezer if it is not firm enough.
Did you make this recipe?
Please let me know how it turned out for you! Leave a comment below and share a picture on Instagram with the hashtag #yourdailynutrients.
Thanks so much!
🇪🇸 Spanish:
Estas mini delicias son “cheesecakes” veganos de limón y coco. Si no os gusta el coco, tampoco os va a convencer este relleno, porque tiene sabor a coco ya que está hecho con leche de coco enlatada.
Si es la primera vez que usáis leche de coco enlatada, os explico la mejor manera de usarla y que el relleno os quede bien.
Podéis observar en la foto de más arriba de esta página cómo debería ser la consistencia de la leche de coco. Para conseguir esta consistencia, la lata de leche de coco debe estar en la nevera por lo menos 5 horas o desde la noche anterior. Así se consigue que se separe la parte sólida de la líquida, y sólo usaréis la parte sólida, como enseño en la foto. Si es necesario, añadir un poco de parte líquida para que se triture más fácilmente.
INGREDIENTES
Base:
3/4 taza o 75gr of harina de almendra
1/4 taza o 30gr of harina de coco
1/3 taza o 50gr of azúcar de coco
1 cucharadita de piel rallada de limón (1/2 limón aproximadamente)
1/3 taza o 55gr de mantequilla de vacas de pasto o aceite de coco
* Si no queréis hacer vuestra propia base de galleta, podéis usar cualquier tipo de galleta y triturarlas y mezclar con mantequilla o aceite de coco.
Relleno de limón y coco:
1 & 1/2 lata o 600ml de leche de coco enlatada (abrir una lata y media y usar solo la parte sólida, no la líquida, tal y como explico más arriba)
3 cucharadas de zumo de limón (1 limón aproximadamente)
1 cucharada de extracto de vainilla
30gr eritritol
Topping:
Opcional, pero creo que le da un toque muy rico: chocolate blanco con un toque de mermelada del gusto que se quiera. Podéis evitar el chocolate blanco y solo poner la mermelada, es una opción con menos azúcar para los que prefiráis.
PASOS
En un bol, mezclar todos los ingredientes de la base y apretar uniformemente en la base de moldes pequeños redondos o molde a escoger.
Si no hacéis vuestra propia base de galleta, triturar las galletas que queráis y mezclar con mantequilla o aceite de coco y colocar en la base de los moldes. Dejar en nevera mientras preparáis el relleno.
Si hacéis vuestra propia base de galleta: hornear a 175C por 10 minutos. Sacar del horno y dejar enfriar.
En un bol, mezclar la leche de coco (sólo la parte sólida) con el zumo de limón, el extracto de vainilla y el eritritol hasta que quede bien incorporado.
Verter encima de casa base, añadir el topping que queráis. Dejar en la nevera durante 2 horas o durante la noche. Si no se queda firme, dejar en el congelador.
* Conservar en la nevera o congelador si no queda suficientemente firme.
¿Habéis hecho esta receta?
¡Me encantaría saber que tal os ha quedado! Dejar un comentario en la sección de abajo y compartir una foto en Instagram con el hashtag #yourdailynutrients.
¡Mil gracias!
Check us out on Facebook & Instagram for our latest healthy content!

Hello Food Lovers!
We created YOUR DAILY NUTRIENTS in order to share and educate with healthy recipes and Diabetic tips.
To motivate you to achieve a healthy lifestyle and control your diabetes at your best!
BROWSE RECIPES by category
Follow us on Instagram to get the latest content on healthy baking and recipes!