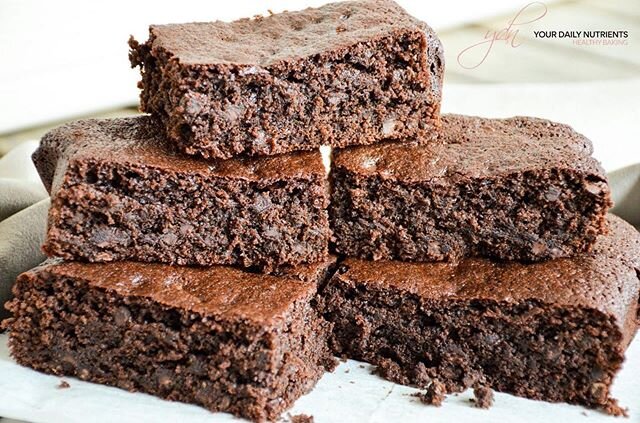
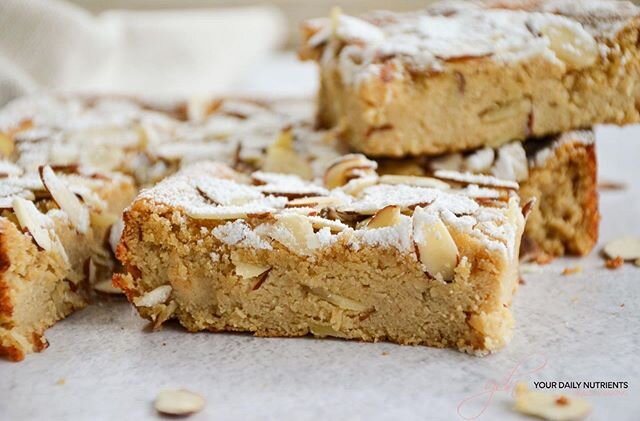
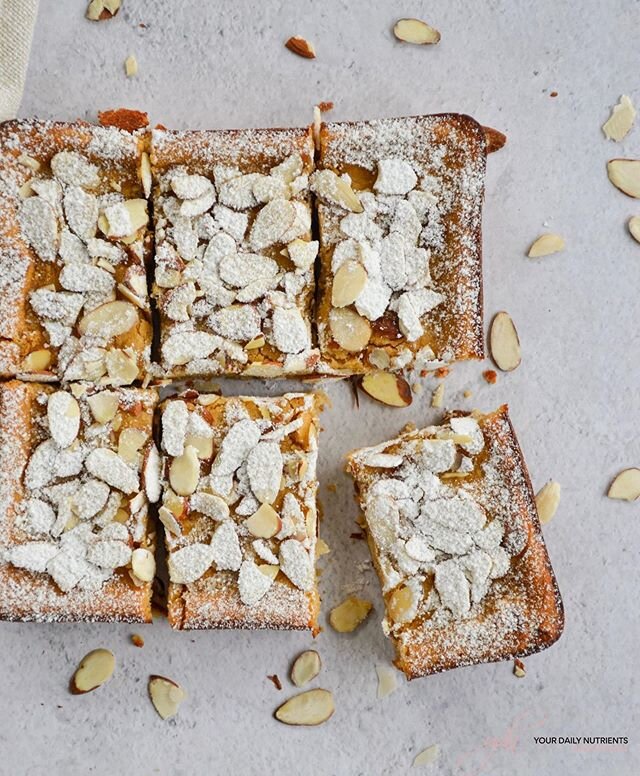
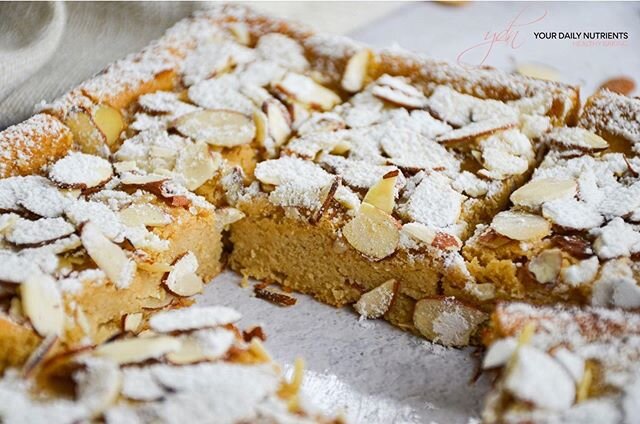
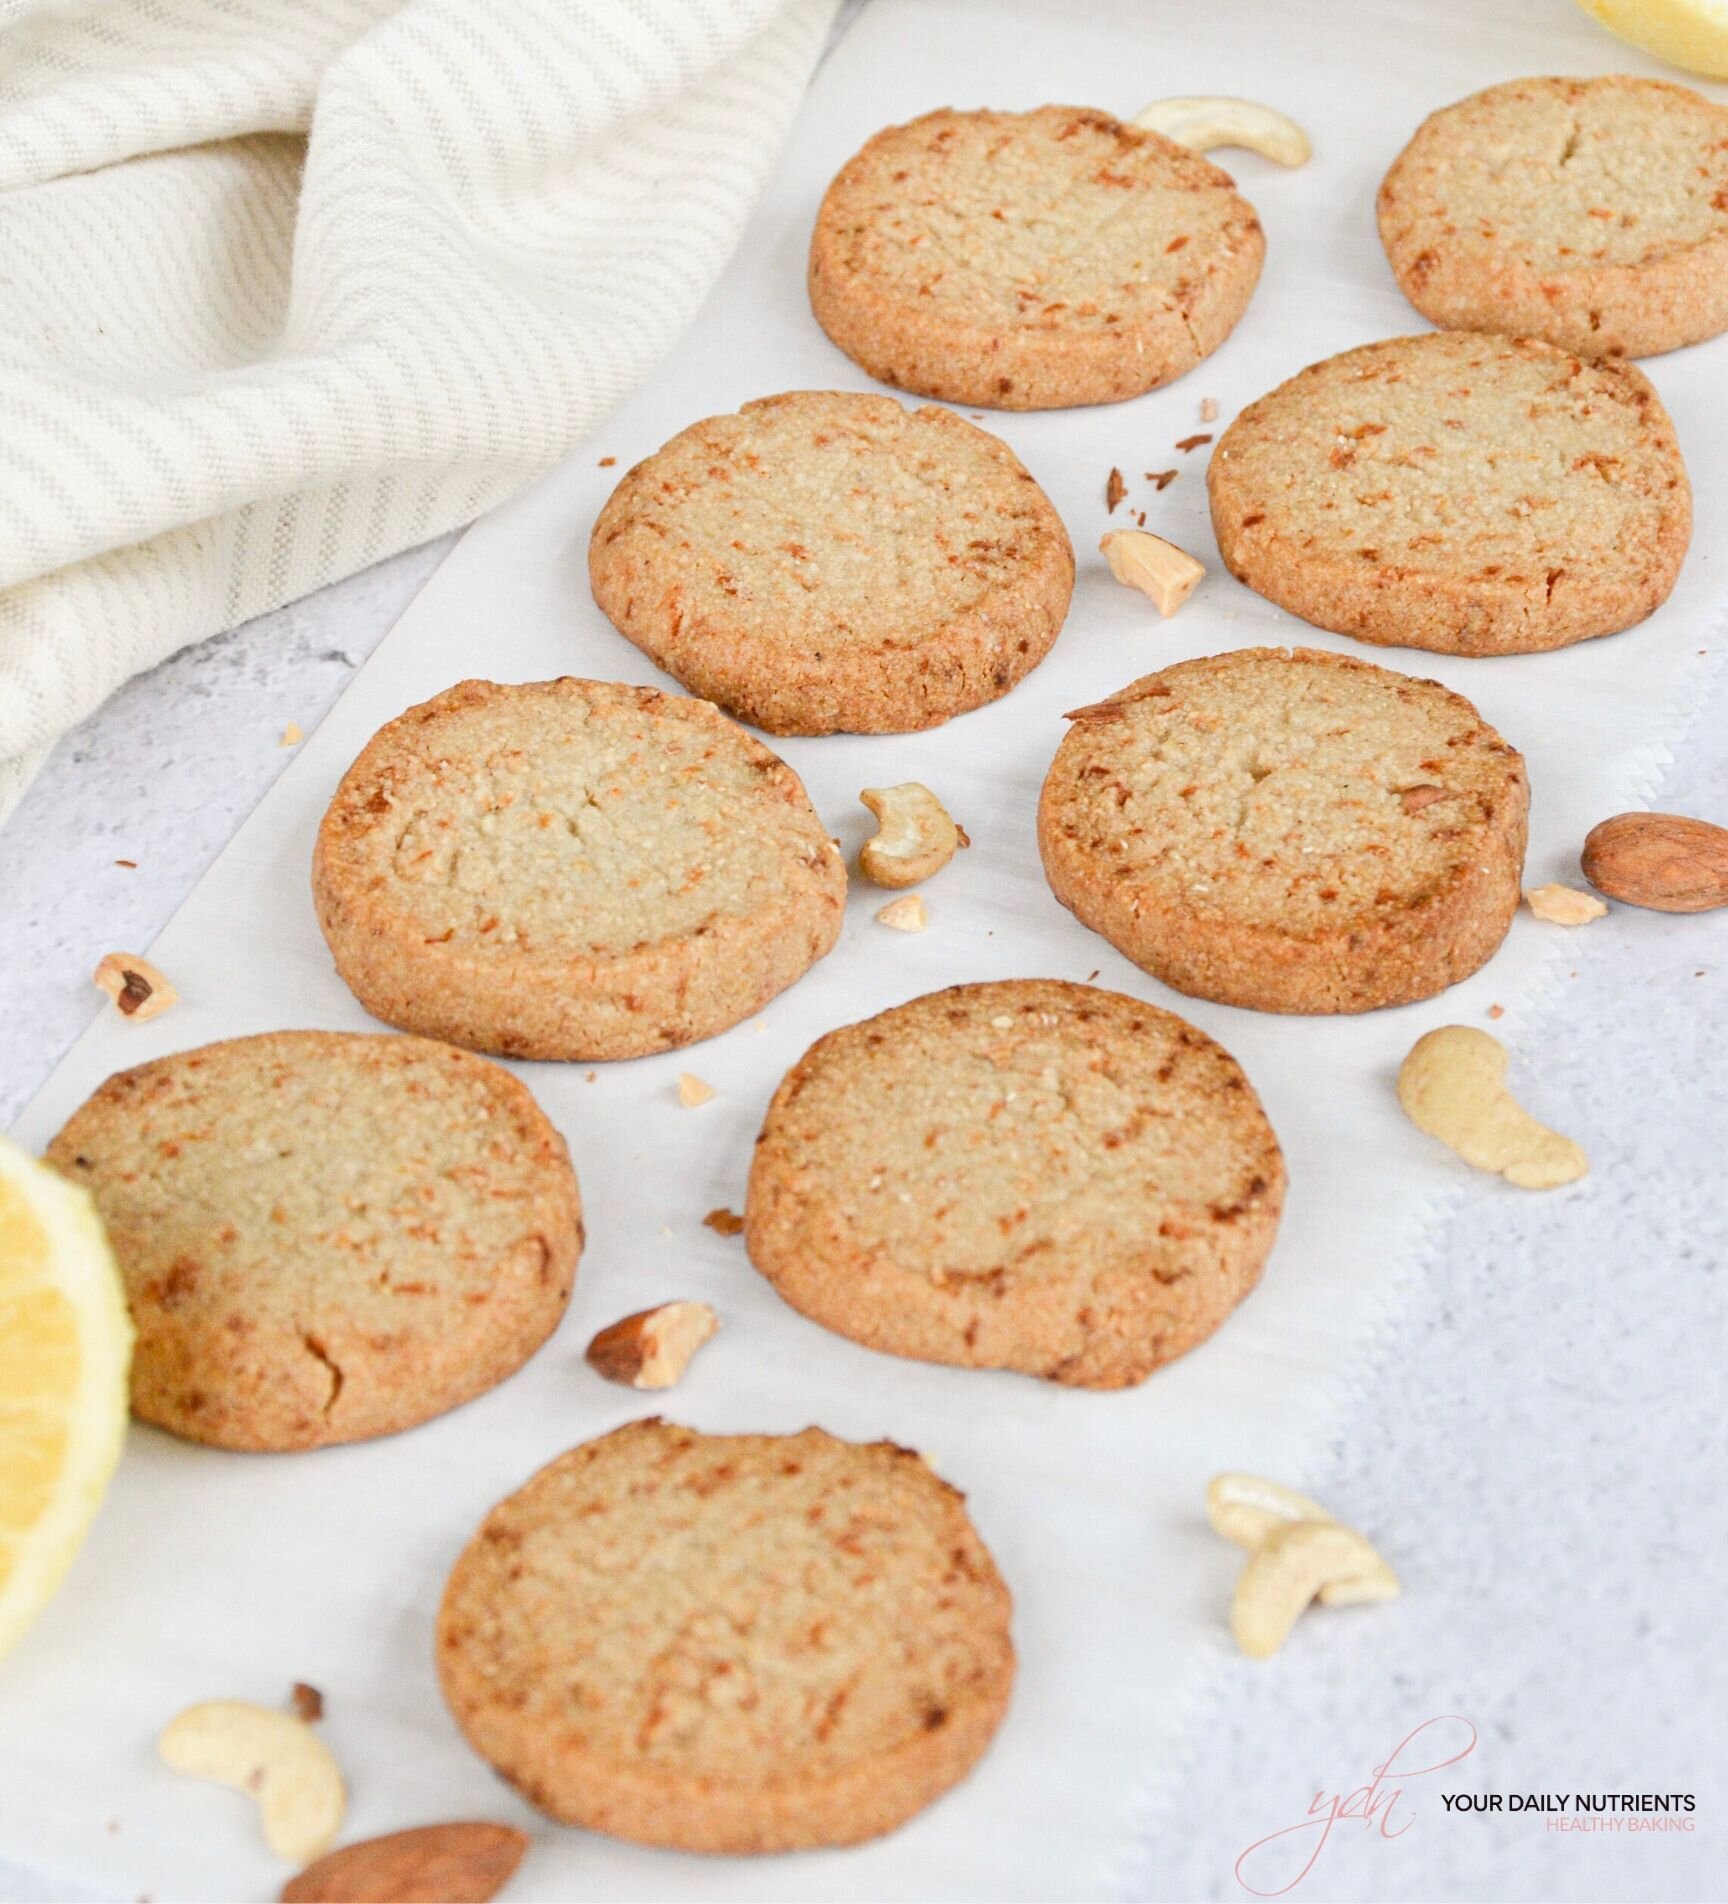
HEALTHY LEMON SHORTBREAD COOKIES
So glad it is almost the weekend! For today, I got for you these delicious healthy lemon shortbread cookies, that are like the classic shortbread cookies but healthier and with a lemon touch!

I have always loved shortbread cookies… my problem is that when I start, I cannot stop!!
So these are the healthy version of shortbread cookies. And I have to say, these healthy cookies are nutrient dense, so you will not feel that you want to eat all of them! Well, you actually will because they’re delicious…but not because of the empty calories and refined carbs like the traditional cookies are made. What I mean is that you get satisfied after 2 or 3 of these and I love that feeling!
These healthy lemon shortbread cookies are gluten-free, refined-sugar free, dairy-free and vegan! Yeah!!!
Check the step by step recipe video below:
DIABETIC DIET TIP
What can I say… the perfect cookie for diabetics honestly! And for non-diabetics also. Actually non-diabetic people, when eating, should be conscious about diabetes overall. Not only how diabetes is actually generated but also why diabetes can appear on individuals like ourselves. It is very important to have a healthy lifestyle to avoid as much as possible ending up having diabetes, at least Diabetes Type 2.
So this said, the macronutrients (protein, carbohydrates and fats) are pretty good! Each cookie has:
3gr of protein · 6.8gr of net carbs · 0.8 gr of sugar · 8.3gr of fats
Why do I say these are actually the perfect cookie for diabetics? Well, because there is only 0.8 gr of sugar per cookie!! This means you should not have sugar spikes at all!
Let us know if you try to make them, I would love to see your remakes, tag me on Instagram so I can see them and do not hesitate to message me if you have any questions!

Author - Lucía
Prep - 40 minutes
Bake - 15 minutes
Ready in - 20 minutes (to let the cookies cool)
Yield - 15-17 cookies
Duration - 1 week or 3 months in the freezer
If you make 17 cookies, each one will have the following nutritional value:
81kcal
2.3gr protein
2.7gr net carbs
0.5gr fiber
0.7gr sugar
7gr fat
* Take into account I have used erythritol to make these cookies, if you use coconut sugar the macronutrients will be:
92kcal
2.3gr protein
5.4gr net carbs
0.6gr fiber
3.5gr sugar
7.1gr fat
INGREDIENTS
1 cup or 85gr of almond flour
1 cup or 85gr cashew flour (you can use all almond flour if you don’t have cashew)
1/3 cup or 50gr of powdered sweetener of choice or coconut sugar (I used xylitol this time, I wouldn’t recommend to use stevia in this case since you need 50gr of ingredient and stevia would only be 10gr)
1/3 cup or 55gr of coconut oil (or grass-fed butter)
1 tablespoon of freshly grated lemon zest
STEPS
*WATCH THE VIDEO ABOVE THIS PAGE TO SEE ALL THE STEPS
Preheat oven at 350F/175C and cover a cookie sheet or rack with parchment paper.
Mix the almond flour, cashew flour, xylitol, and lemon zest, stirring until fully combined.
Melt the butter or oil and add it to the previous mixture.
Form dough (it will be crumbly, this is normal) into a cylinder and wrap tightly with parchment paper to compress.
Chill in freezer for 30 minutes or until firm, or in the refrigerator for 2 hours.
With a sharp knife, slice into 1/2 inch (1cm) thick cookies (if they crumble apart your dough isn’t cold enough). Makes about 15-17 cookies.
Bake for 15 minutes, or until firm and golden brown.
* Store in an air tight container in the fridge, it will keep the cookies crunchy.
Did you make this recipe?
Please let me know how it turned out for you! Leave a comment below and share a picture on Instagram with the hashtag #yourdailynutrients and send me a DM so I can see you and share!
Thanks so much!
🇪🇸 Spanish:
Siempre me han encantado las galletas de mantequilla de toda la vida… las de la caja metálica redonda, esas!! Y si me comía una, me comía media caja por lo menos…qué desastre!
Esta receta es la versión sana de esas galletas y además con un toque de limón! Son muy fáciles de hacer, encontraréis el video del paso a paso al principio de esta página.
Estas galletas saludables de limón sólo tienen 4/5 ingredientes y además son sin gluten, sin lácteos (si usáis aceite de coco), veganas y sin azúcares refinados. También son muy bajas en azúcares así que son ideales para diabéticos! Son la antítesis de las galletas de plátano y avena que os compartí hace unos días, donde indicaba que eran ideales para situaciones en los que el azúcar está bajando. Pues estas son las galletas para cuando tus niveles de azúcar están estables (90-120 mg/dL) y no quieres que te suban por comer galletas!
Autora - Lucía
Preparación - 40 minutos
Horno - 15 minutos
Porción - 15-17 galletas
Conservación - 1 semana o 3 meses en el congelador
Si haces 17 galletas, cada una tendrá la siguiente información nutricional:
81kcal
2.3gr proteína
2.7gr carbs netos
0.5gr fibra
0.7gr azúcar
7gr grasas
* Ten en cuenta que he usado eritritol, pero si usas azúcar de coco, los valores serán:
92kcal
2.3gr proteína
5.4gr carbs netos
0.6gr fibra
3.5gr azúcar
7.1gr grasas
INGREDIENTES
1 taza o 85gr de harina de almendra
1 taza o 85gr de harina de anacardo (podéis usar todo harina de almendra si no tenéis de anacardo)
1/3 taza o 50gr de endulzante/edulcorante en polvo o azúcar de coco (yo he usado xylitol en este caso, no vale usar estevia ya que solo se necesitaría una cucharadita y es necesario más volumen de ingrediente)
1/3 taza o 55gr de aceite de coco (o mantequilla de vacas de pasto)
1 cucharada de piel de limón fresca
PASOS
* MÁS ARRIBA DE ESTA PÁGINA TENÉIS EL VIDEO CON EL PASO A PASO
Pre calentar el horno a 175C y cubrir una bandeja para galletas o rejilla con papel de horno.
Mezclar la harina de almendra, harina de anacardo, el xylitol o azúcar de coco y la ralladura de limón. Mezclar bien todo.
Derretir la mantequilla o el aceite y añadirlo a la mezcla anterior.
Se creará una masa con la que hay que formar un cilindro (se os puede desmenuzar un poco la masa, es normal). Recubrir el cilindro con papel de horno o papel film para que se mantenga la forma.
Dejar en el congelador unos 30 minutos o hasta que se endurezca la masa.
Con un cuchillo grande, cortar rodajas de 1 cm de grosor aproximadamente. Si la masa se os rompe, entonces no está lo suficientemente endurecida/fría. Salen entre 15-17 galletas.
Colocar las rodajas en la bandeja y hornear 15 minutos, o hasta que se doren.
* Conservar las galletas en un recipiente hermético y dejarlas en la nevera, así se mantienen crujientes.
¿Habéis hecho esta receta?
¡Me encantaría saber que tal os ha quedado! Dejar un comentario en la sección de abajo y compartir una foto en Instagram con el hashtag #yourdailynutrients y enviarme un mensaje así puedo veros y compartir!
¡Mil gracias!

Check us out on Facebook & Instagram for our latest healthy content!

Hello Food Lovers!
We created YOUR DAILY NUTRIENTS in order to share and educate with healthy recipes and Diabetic tips.
To motivate you to achieve a healthy lifestyle and control your diabetes at your best!
Follow us on Instagram to get the latest content on healthy baking and recipes!