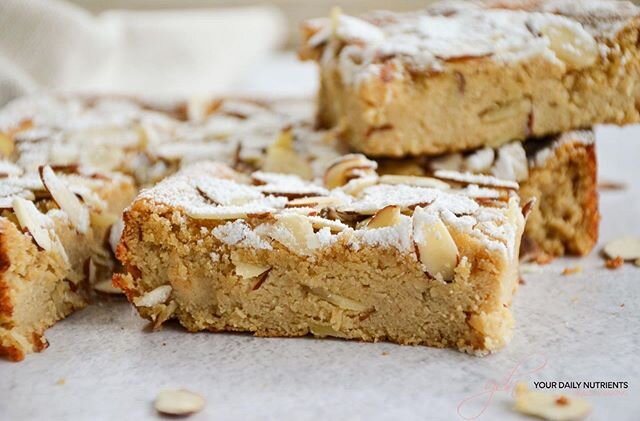
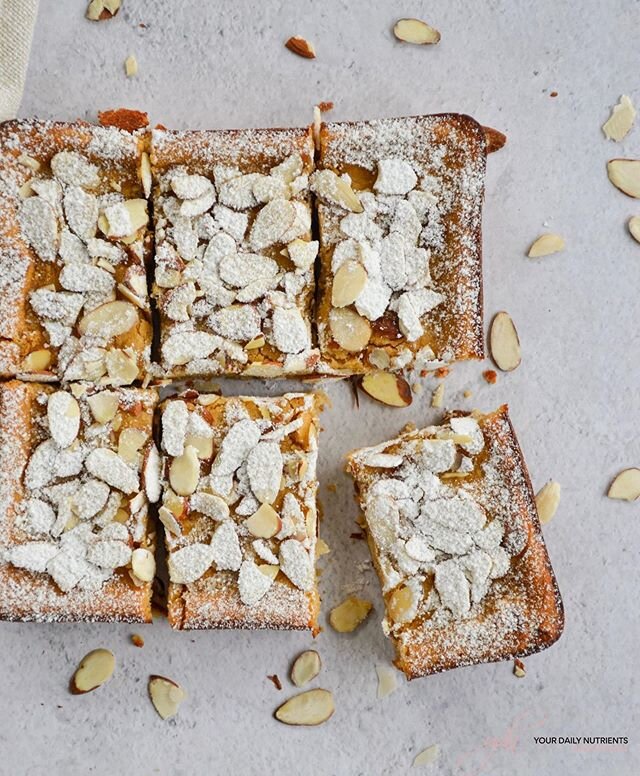
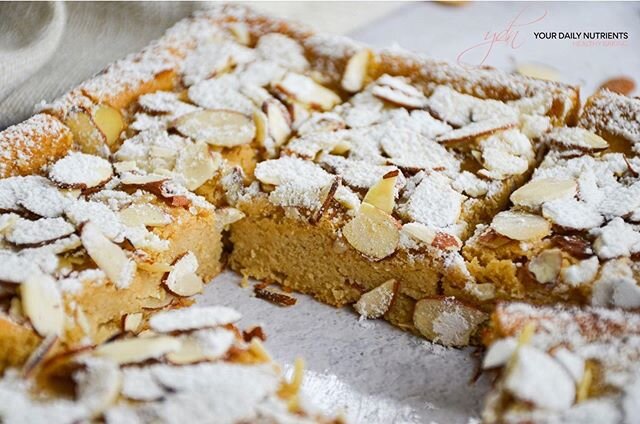
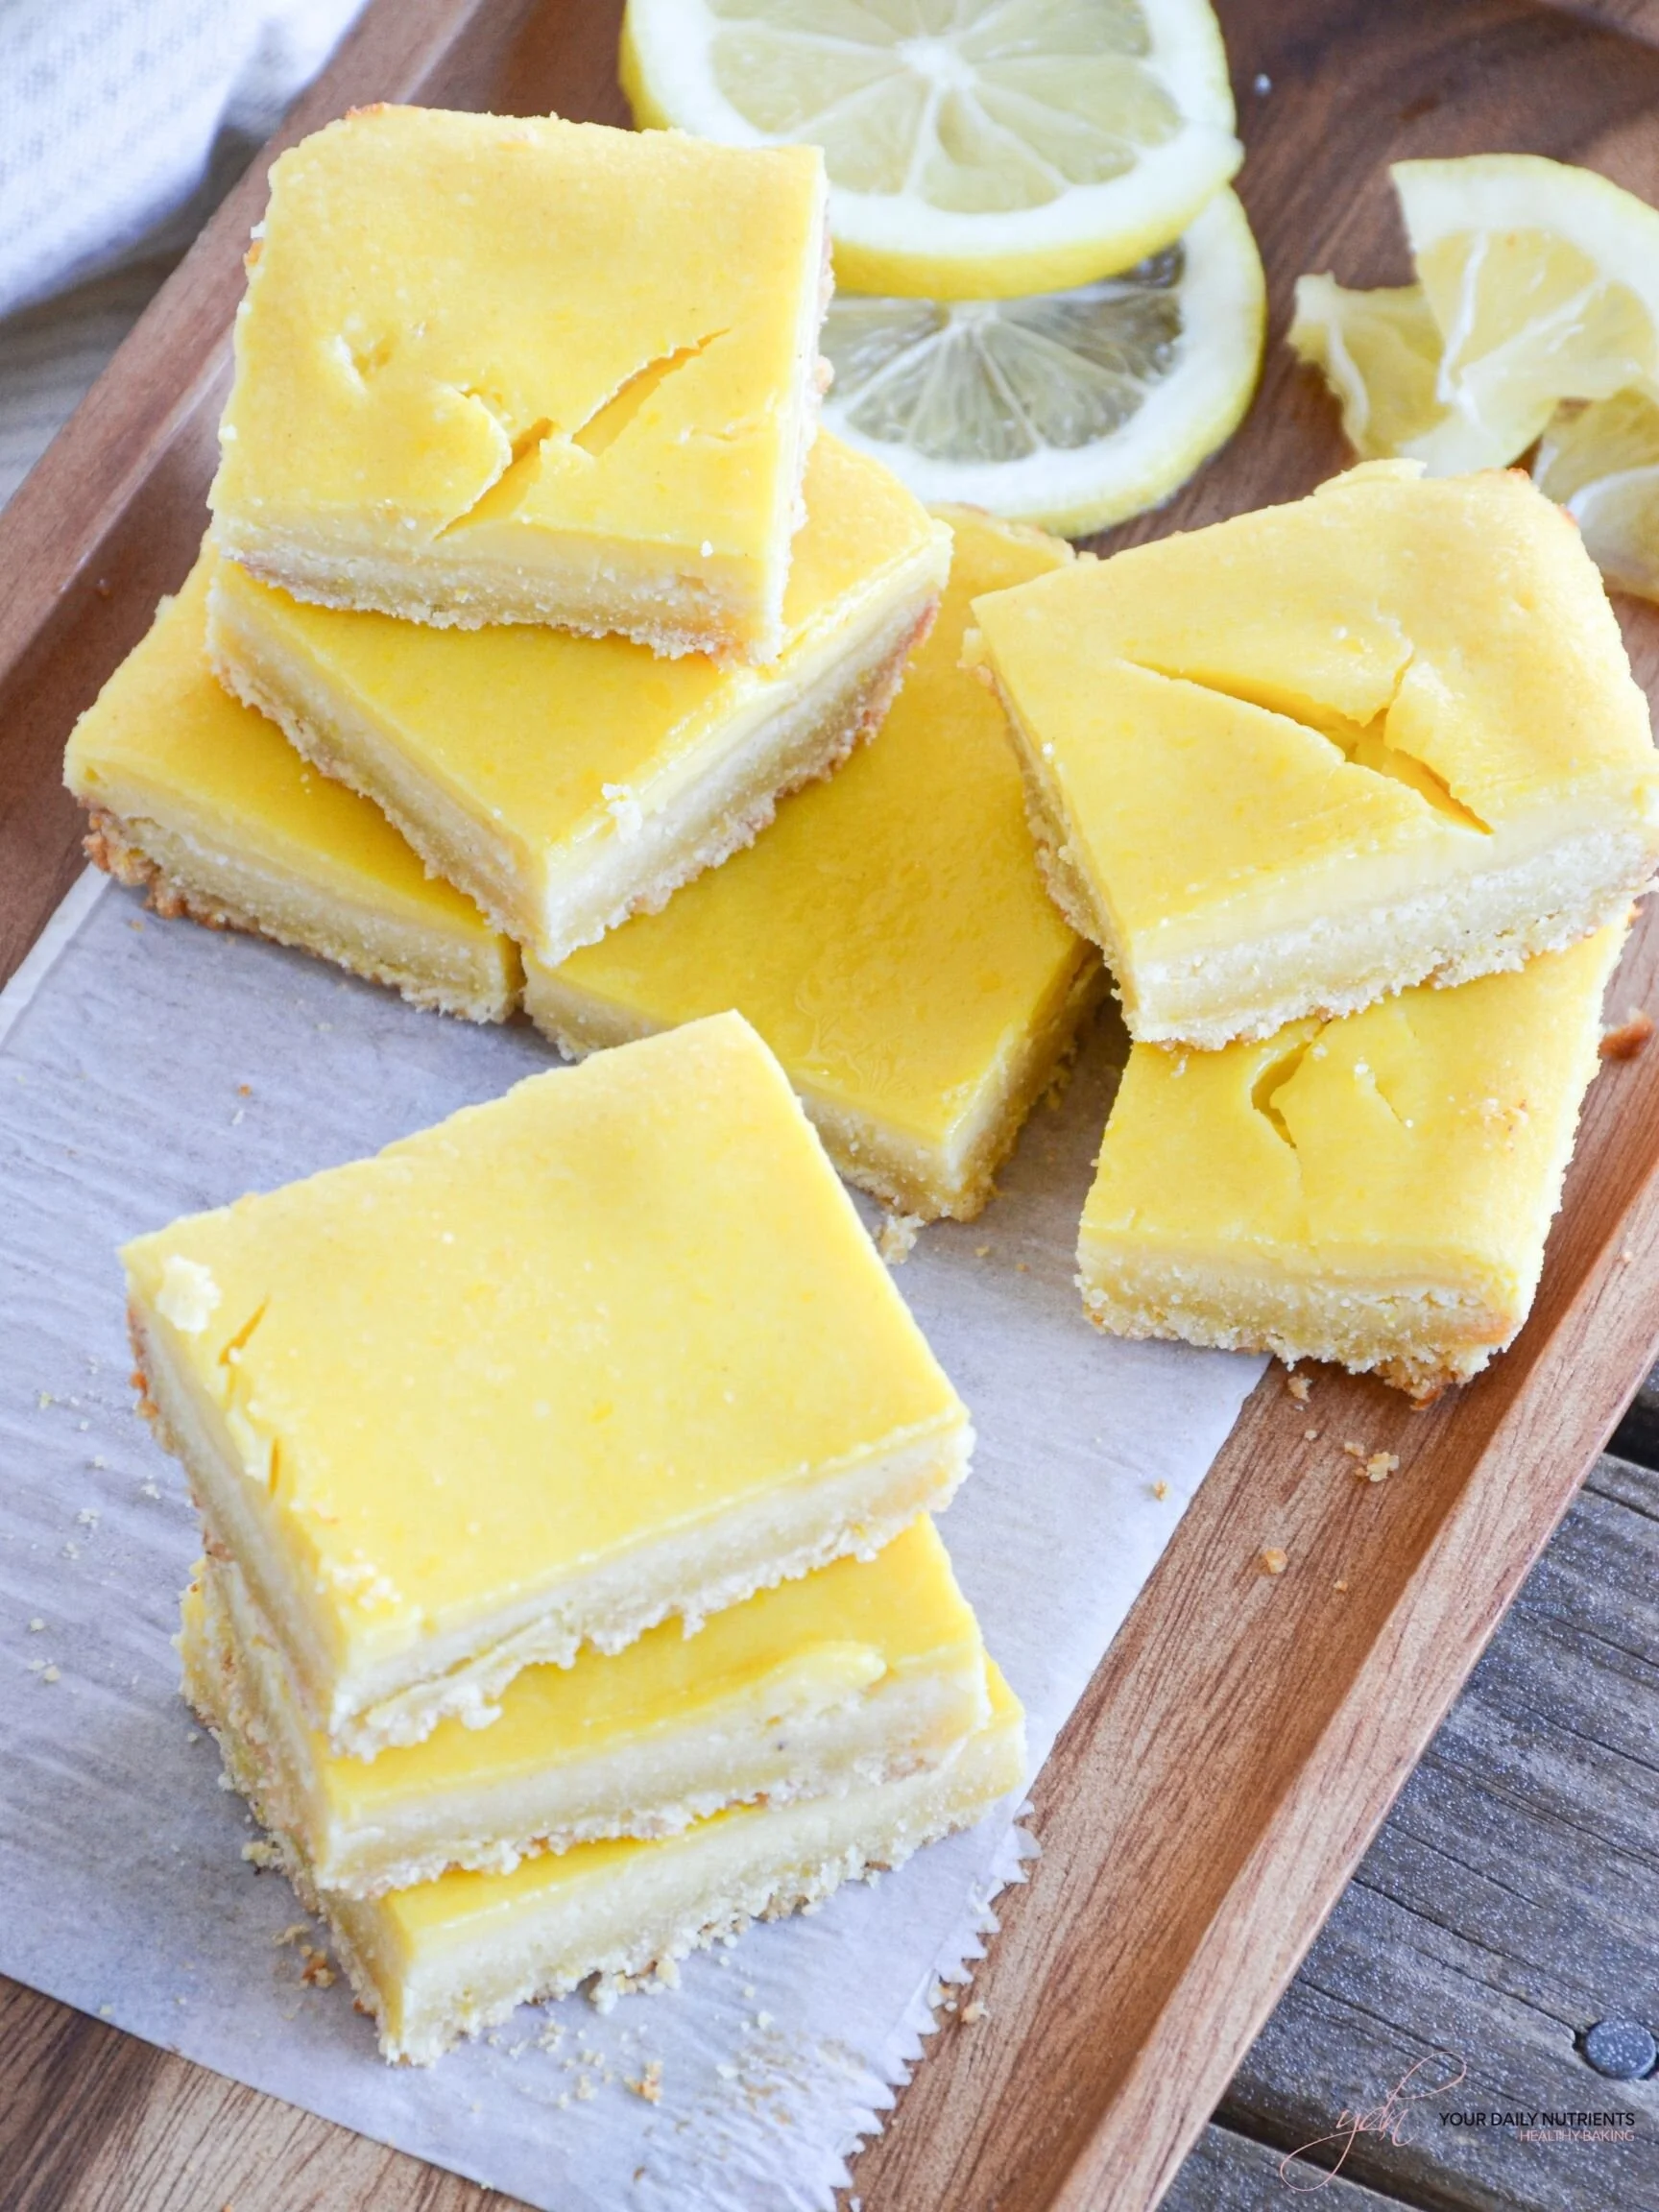
LEMON BARS
- VERSIÓN EN ESPAÑOL AL FINAL DE LA PÁGINA -
Hello food lovers!
How do you feel about lemon desserts??? Aaaaawwww so delicious! It’s amazing how the lemon zest gives such a flavor!
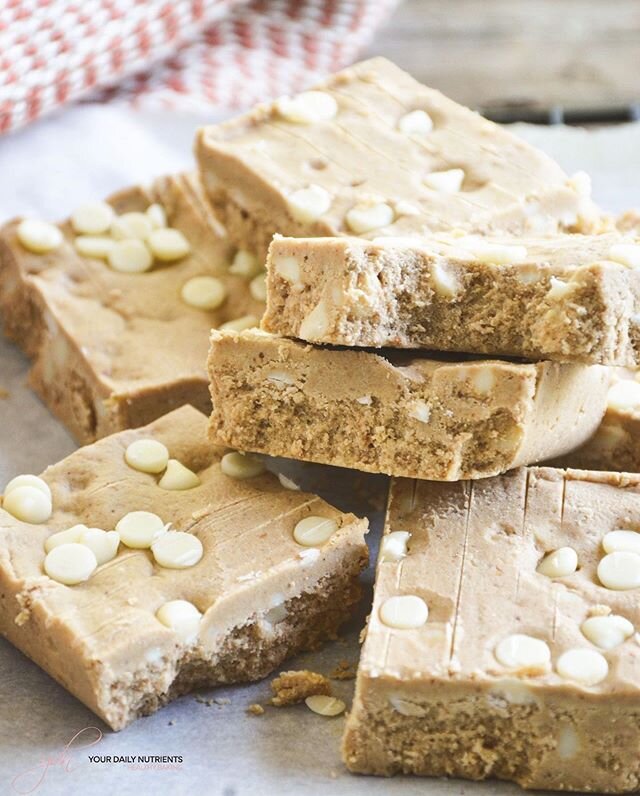
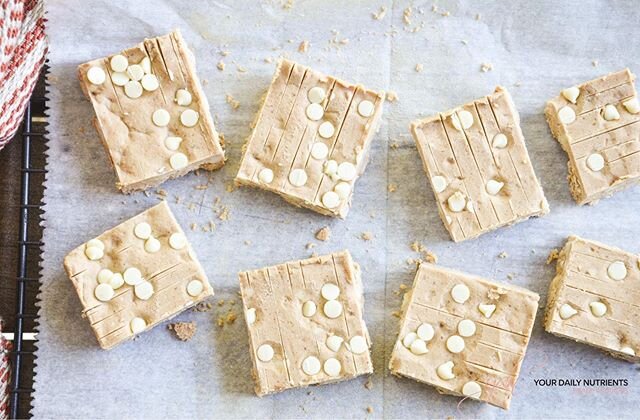
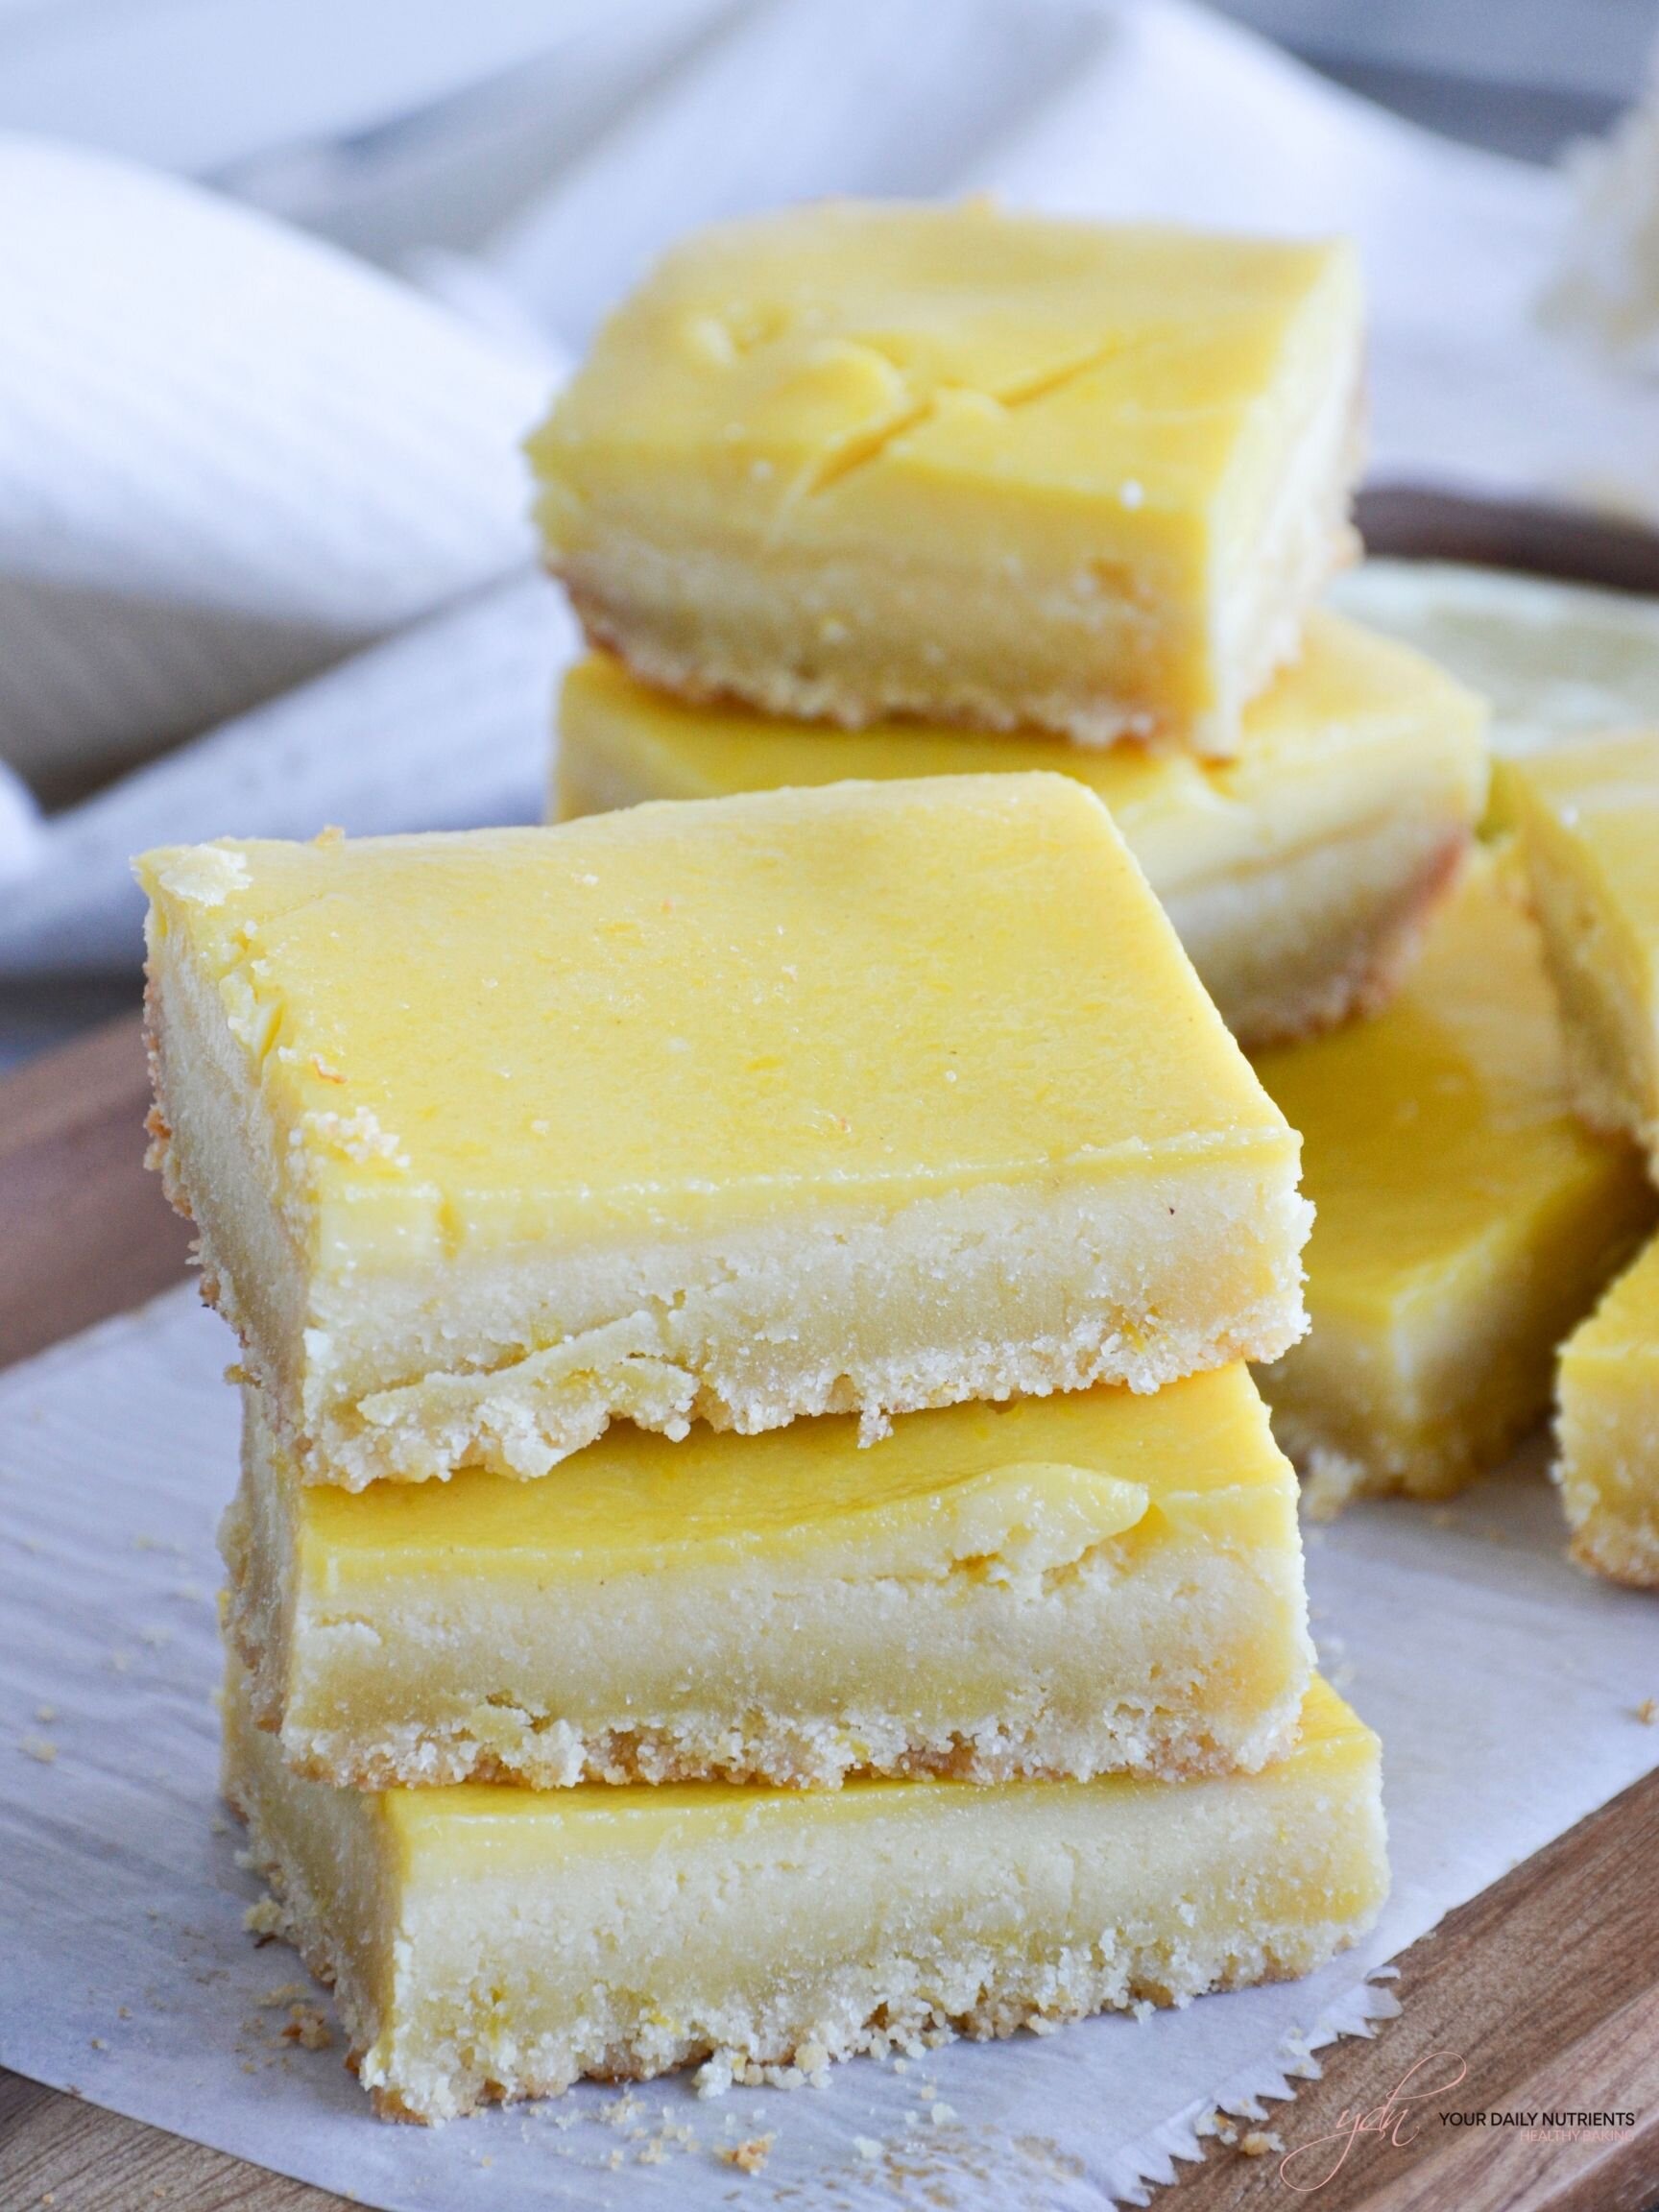
The lemon curd filling is extra thick and creamy and sits on an irresistible gluten free butter shortbread crust! These healthy lemon bars are gluten free and low carb!

DIABETIC DIET TIP
These healthy lemon bars are so delicious! The crust is so yummy, made with almond flour and coconut flour. You can also make the crust like these lemon shortbread cookies here.
I made these bars 2 times, the first one I used coconut sugar for crust and filling but then the result was very brown in color and I wanted to achieve the bright yellow color!
So, the second time I used erythritol for the base and erythritol for the filling. And it turned out awesome!
Remember to always measure your blood glucose levels before consuming any food, specially sweets. These healthy lemon bars won’t spike your sugar levels and it will also depend if you add or not regular sugar. Make sure to have stable blood sugar levels around 90-120 mg/dL if you follow my recipe.
Author - Lucía
Prep - 15 minutes
Bake - 40 minutes
Ready in - 30 minutes after baking
Yield - 9 square or 18 small bars
Duration - 1 week or 3 months in the freezer
The macronutrients on these healthy lemon bars are great! If you cut into 18 pieces, which I think is the perfect size for something sweet, each one will have:
90kcal
5.4gr protein
2.1gr net carbs
0.8gr fiber
0.5gr sugars
6.4gr fats
* Take into account I have counted these macronutrients based on using erythritol as a sweetener, if you use any other type of sugar/sweetener the information may vary.
INGREDIENTS
Crust:
1 cup or 85gr of almond flour
30gr coconut flour
45gr vanilla protein powder
60gr cold butter, diced
40gr powdered coconut sugar or eritritol (if you use protein powder you may need less gr of sweetener)
zest of 1 lemon
Lemon Filling:
5 large eggs
1/2 cup or 70gr powdered coconut sugar or granulated sweetener (if you only use stevia, the amount of ingredient is considerable less and this will make the top lemon layer thinner, which you don’t want!)
1/2 cup or 100ml freshly-squeezed lemon juice
STEPS
Preheat oven to 350°F. Line an 8 x 8-inch baking pan with parchment paper and set aside.
Combine all the crust ingredients together. You want the butter to be well combined, but to stop before the mixture turns into a ball. (I used my hands to mix all the ingredients, make sure it becomes like crumbs)
Spread the crust mixture evenly into the prepared pan. Then press the mixture down firmly to form an even layer.
Bake the crust for 20 minutes, or until it is lightly golden on top.
Meanwhile, whisk the lemon filling ingredients together in a medium mixing bowl until combined. Pour the filling through a fine-mesh strainer to get it nice and smooth before adding it to the crust.
Once the crust is done baking, remove the pan from the oven and immediately pour the lemon filling on top of the hot crust. Return the pan to the oven and bake for 18-20 more minutes, or until the lemon filling has set.
Remove the pan from the oven and transfer to a wire baking rack to cool until the bars reach room temperature. Then transfer to the refrigerator and let the bars chill for at least 2 hours.
* Store in the fridge for 1 week.
Did you make this recipe?
Please let me know how it turned out for you! Leave a comment below and share a picture on Instagram with the hashtag #yourdailynutrients.
Thanks so much!
🇪🇸 Spanish:
Ya hacía tiempo que tenía ganas de hacer barritas de limón! Las he tenido que hacer dos veces… la primera vez usé azúcar de coco en ambas capas pero me quedaron muy marrones y quería conseguir el look amarillo y de color clarito así que en mi segunda prueba utilizé eritritol y es la vez que más me ha gustado como han quedado ya que el volumen de eritritol es como el del azúcar y le da más grosor a la capa de limón.
Podéis añadir proteína en polvo de vainilla en la base de la galleta para que tenga más contenido proteico, como hice yo!
Autora - Lucía
Prep - 15 minutos
Horno - 40 minutos
Listo en - 30 minutos después del horneado
Cantidad - 9 barritas medianas o 18 pequeñas
Conservación - 1 semana en la nevera
Los macronutrientes de estas barritas de limón son ideales, si las cortas en 18 barritas pequeñas (porción ideal) los valores de cada una serán los siguientes:
90kcal
5.4gr protein
2.1gr net carbs
0.8gr fiber
0.5gr sugars
6.4gr fats
* A tener en cuenta que los valores están calculados habiendo utilizado sólo eritritol como endulzante. Si utilizas otro tipo o azúcar los valores cambiarán.
INGREDIENTES
Base:
1 taza o 85gr de harina de almendra
30gr harina de coco
45gr proteína de vainilla en polvo
60gr de mantequilla fría, cortada en dados
1/4 taza o 40gr azúcar de coco en polvo o eritritol (si utilizas proteina en polvo, no tendrás que añadir tantos gr de endulzante)
Piel de 1 limón
Relleno de Limón:
5 huevos grandes
1/2 taza o 70gr de azúcar de coco en polvo (depende del color que queráis en el relleno, el azúcar de coco hará el relleno de color más oscuro. Si usáis estevia la capa de limón será más finita, por eso recomiendo usar eritritol ya que el volumen equivale al de azúcar granulado)
1/2 taza o 100ml de zumo de limón exprimido
2 cucharadas de harina de arroz integral o cualquier harina
PASOS
Pre calentar el horno a 175C. Cubrir un molde rectangular o cuadrado de 20x20cm con papel de horno. Reservar.
Combinar los ingredientes de la base todos juntos. La mantequilla debe estar más bien fría, mezclar con las manos hasta que quede una consistencia arenosa, no pasarse.
Esparcir por la base del molde y apretar hasta que quede firme.
Hornear la base durante 20 minutos o hasta que este dorada.
Mientras, mezclar todos los ingredientes del relleno. Una vez todo mezclado pasar por un colador para obtener una textura suave y limpia.
Una vez la base esté hecha, sacar del horno e inmediatamente verter el relleno de limón por encima y hornear 18-20 minutos.
Retirar del horno y dejar que se enfríe. Dejar en la nevera al menos 2 horas.
* Conservar en la nevera durante 1 semana.
¿Habéis hecho esta receta?
¡Me encantaría saber que tal os ha quedado! Dejar un comentario en la sección de abajo y compartir una foto en Instagram con el hashtag #yourdailynutrients.
¡Mil gracias!

Check us out on Facebook & Instagram for our latest healthy content!

Hello Food Lovers!
We created YOUR DAILY NUTRIENTS in order to share and educate with healthy recipes and Diabetic tips.
To motivate you to achieve a healthy lifestyle and control your diabetes at your best!
BROWSE RECIPES by category
Follow us on Instagram to get the latest content on healthy baking and recipes!